Movements of the pelvis in lines and circles like a clock
This lesson uses three positions: sitting on the floor with leaning on the hands behind, in lying supine, and in half sitting with leaning on the elbows behind. Motions are flexion and extension of the entire spine, leaning to either side to tilt the pelvis left and right, and combining these four directions into circles in either direction.
The pelvis has the ability to move freely in all its articulations, as it relates to (for example) the hip joints and legs, as well as the lower back, chest, and the cervical spine with the head. As soon as one of the possible motions of the pelvis is restrained, the fluency of action is broken. Thereafter greater efforts in the shoulder girdle or in the legs are necessary to accomplish what could have been done with grace and ease. Do your subjective perceptions of movement match up with objective observations? In this lesson the larger movements of the pelvis are organised into smaller, well defined sections. This lesson also addresses the ribs and especially the floating ribs and thus can dramatically improve breathing through this means.
pelvic clocksittingsupine pelvic_clock_1
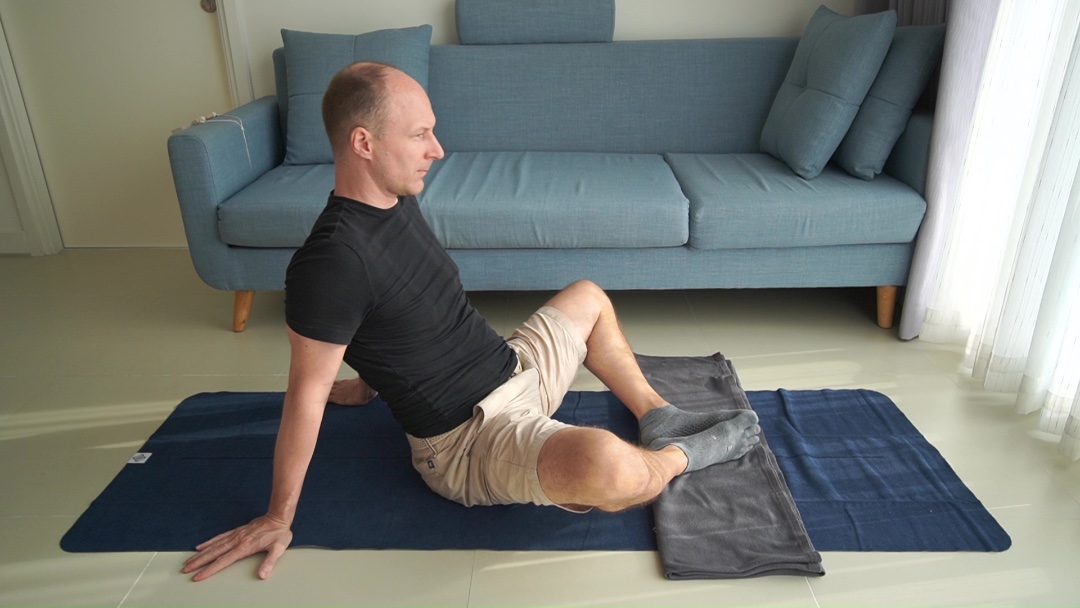
Sit, lean on your hands with your elbows straight, both knees bent, and touch the soles of your feet together.
Come to sit on the floor
Really lean on your hands, and touch the soles of your feet together.
- Move your feet closer and further away from your pelvis, until you find they are not too close and not too far away.
Find a position for your hands to really lean on your hands, until you find you lean not too much and not too little.
Come to sit on the floor
Really lean on your hands, and touch the soles of your feet together.
Sit like before
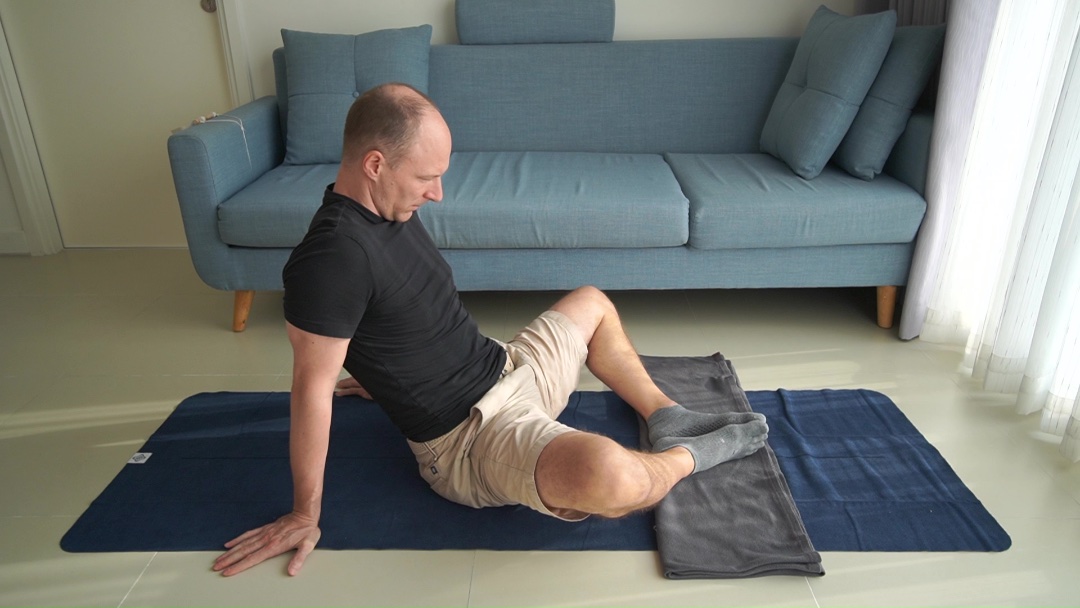
Roll pelvis backwards, lower head
Let your back round and lengthen, draw your belly in.
- Movement perspective: this is a posterior pelvic tilt, and a flexion pattern.
Emotional perspective: this is the reaction to negative stress, the body posture of fear, a contraction reflex to a loud noise or danger.
Observe whether your knees lift or lower while you roll your pelvis backwards.
Roll pelvis backwards, lower head
Let your back round and lengthen, draw your belly in.
Sit like before
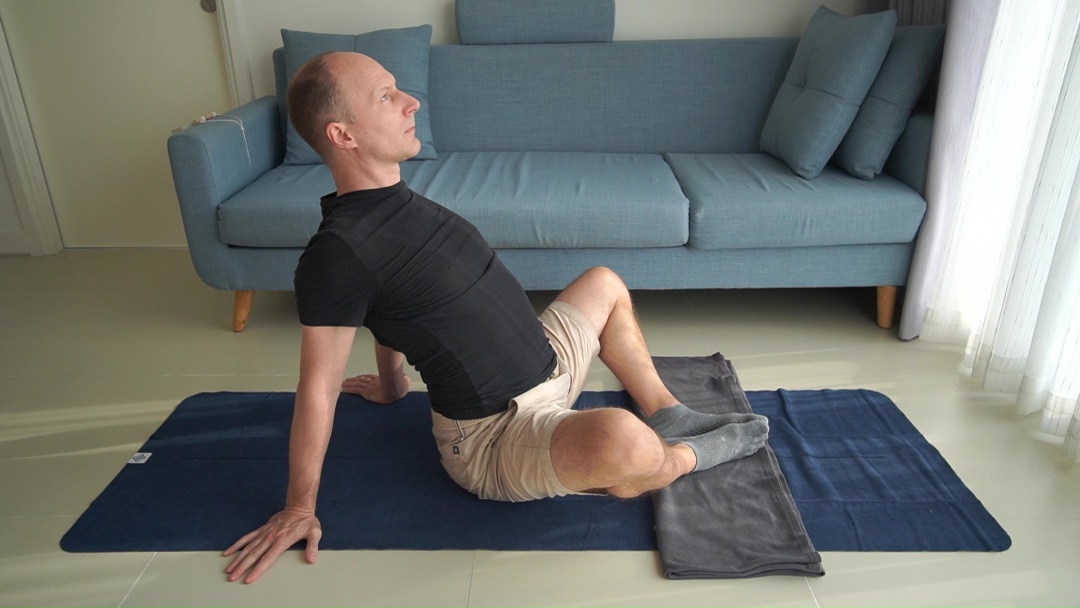
Roll pelvis forwards, lift head
Let your back arch and shorten, protrude your belly forwards.
- Movement perspective: this is an anterior pelvic tilt, and an extension pattern.
Emotional perspective: this is the reaction to positive stress, the body posture of action.
Again, observe whether your knees lift or lower while you roll your pelvis forwards.
Roll pelvis forwards, lift head
Let your back arch and shorten, protrude your belly forwards.

Sit like before
Roll pelvis backwards and forwards
Combine the previous two movements, move your head and torso accordingly, like before.
- Movement perspective: this is a flexion/extension cycle that is distributed over all segments of the axial skeleton.
It is also a reversal of movement initiation in the sense of proximal/distal: Your legs are stabilized and your pelvis is rolling around your femoral heads, as opposed to a stabilized pelvis and your femurs rolling in your hip joints.
Roll pelvis backwards and forwards
Combine the previous two movements, move your head and torso accordingly, like before.
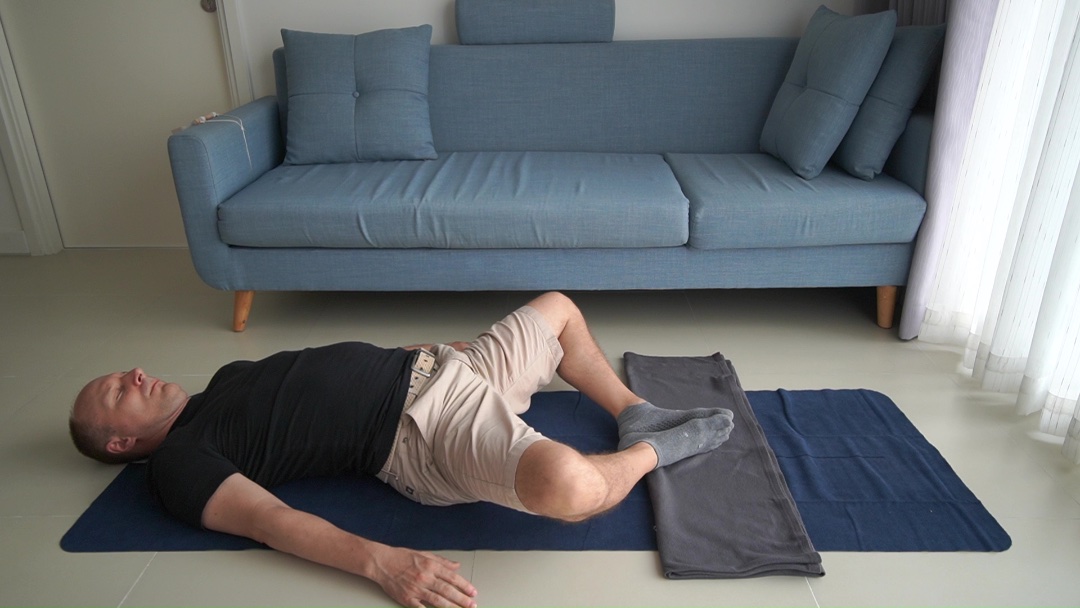
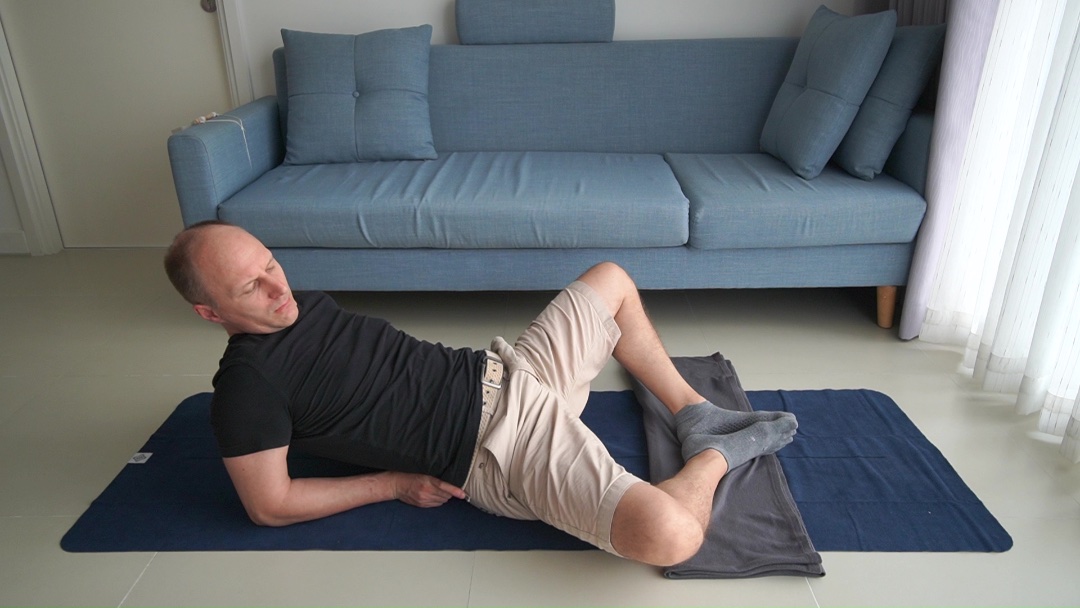
Lie on your back, knees bent to the outsides like before, touch the soles of your feet together
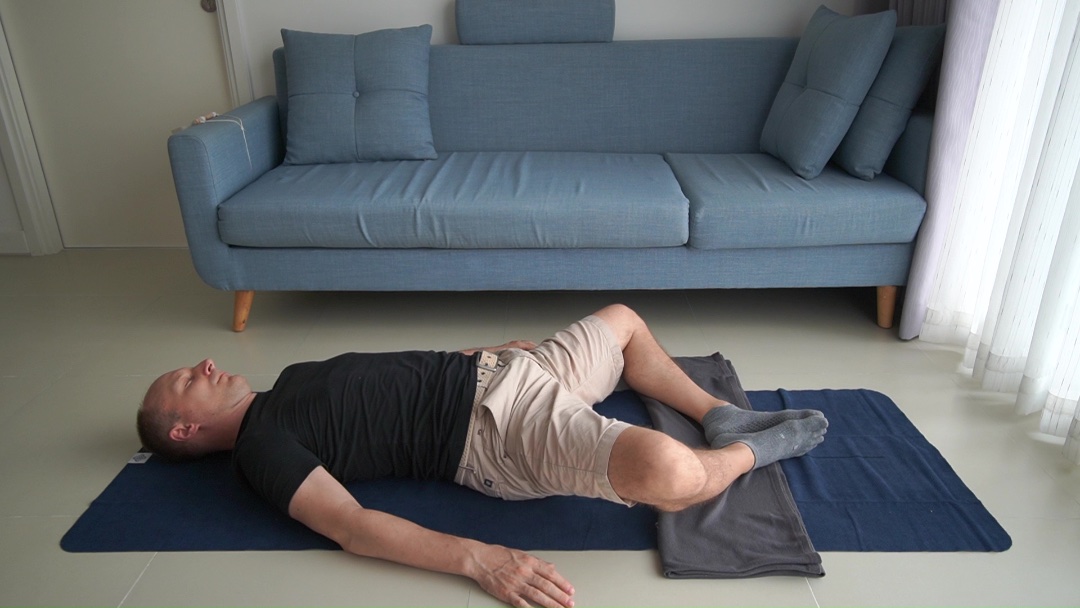
Tilt pelvis backwards
Observe how the pelvis pushes the spine up, vertebra by vertebra, and lastly the head rolls.
- When the pelvis rolls backwards (posterior pelvic tilt), the head rolls and the chin lifts away from the chest.
Observe the movements of the head rather than directing them.
Tilt pelvis backwards
Observe how the pelvis pushes the spine up, vertebra by vertebra, and lastly the head rolls.
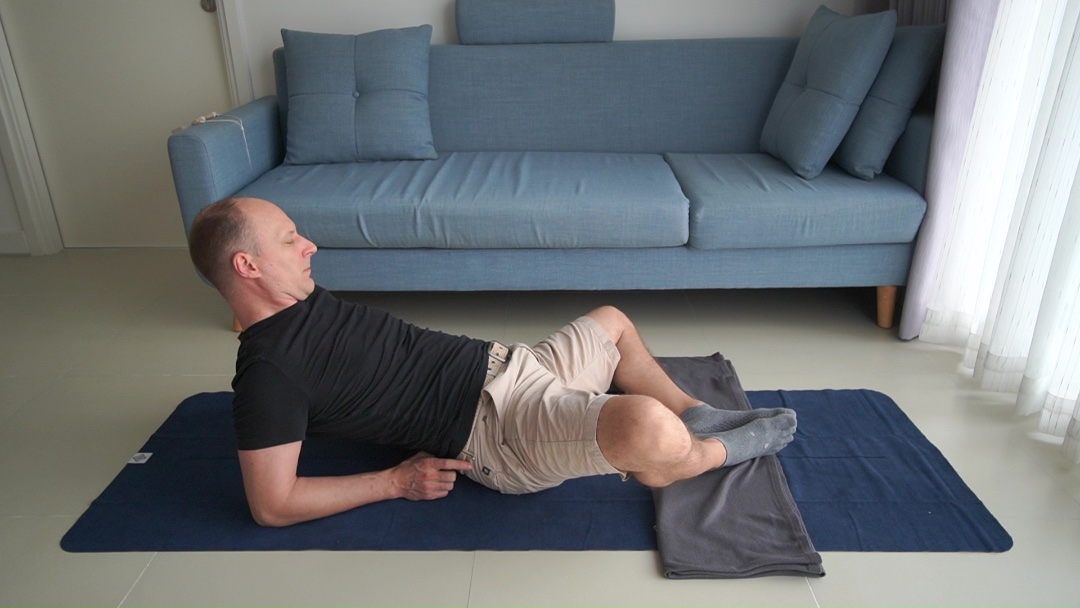
Lie on your back like before
Tilt pelvis forwards
Observe how the pelvis pulls on the spine, vertebra by vertebra, and lastly the head rolls.
- When the pelvis rolls forwards (anterior pelvic tilt), the head rolls in the same direction and the chin is pulled closer to the chest.
Observe the movements of the head rather than directing them.
Tilt pelvis forwards
Observe how the pelvis pulls on the spine, vertebra by vertebra, and lastly the head rolls.

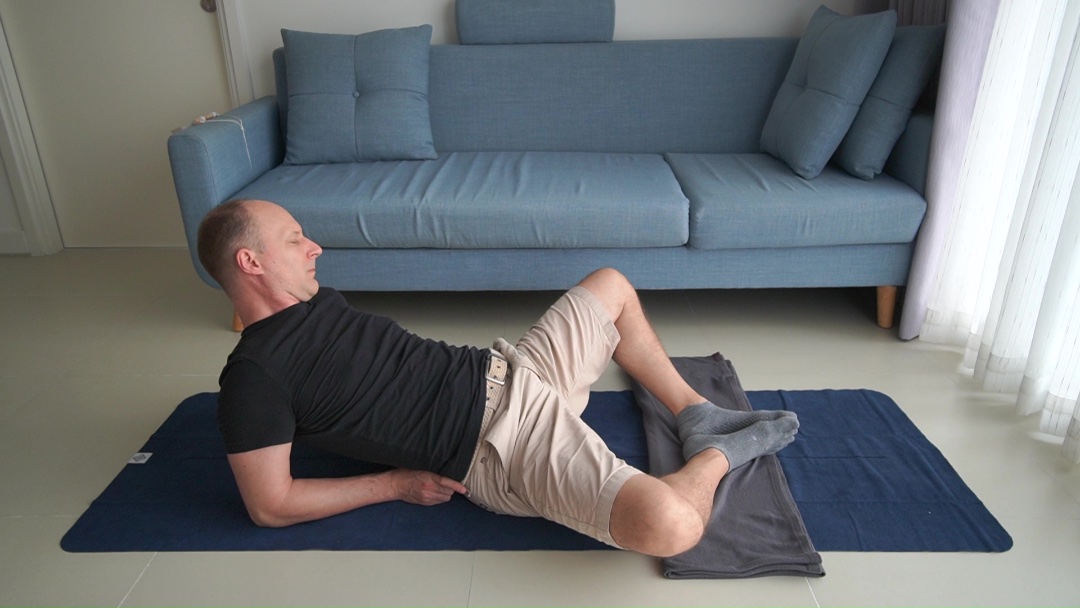
Lie on your back like before
Roll pelvis backwards and forwards
Combine the previous two movements, observe how your head moves accordingly.
- In lying supine, with a resting torso, your head movements follow your pelvis movements in a sort of linked, coupled manner.
Roll pelvis backwards and forwards
Combine the previous two movements, observe how your head moves accordingly.
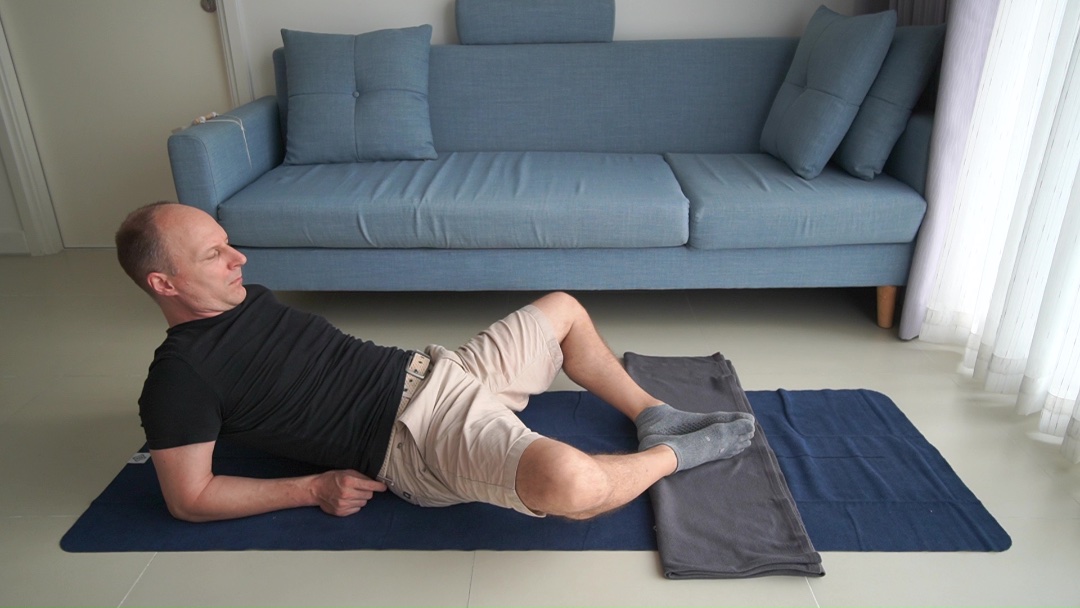
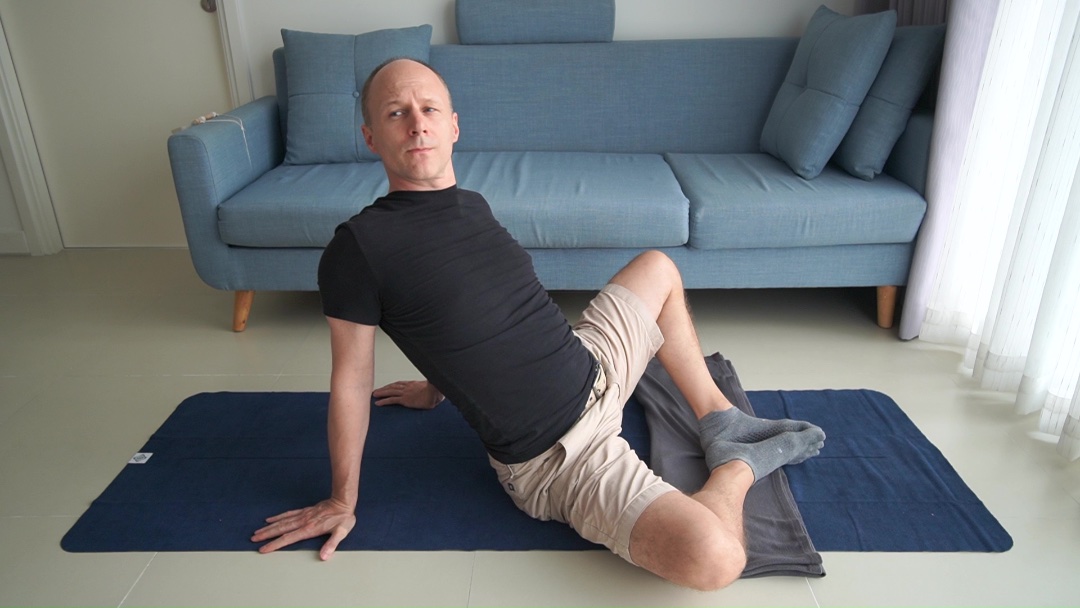
Sit and lean back on your elbows, knees bent to the outsides like before, touch the soles of your feet together
Roll pelvis backwards
How does this movement transfer up throughout your torso? Do you lift or lower your head?
- Lower your head to your chest while you roll your pelvis backwards. This is a flexion movement.
Then lift your head on purpose while you roll your pelvis backwards. This is a push.
Roll pelvis backwards
How does this movement transfer up throughout your torso? Do you lift or lower your head?
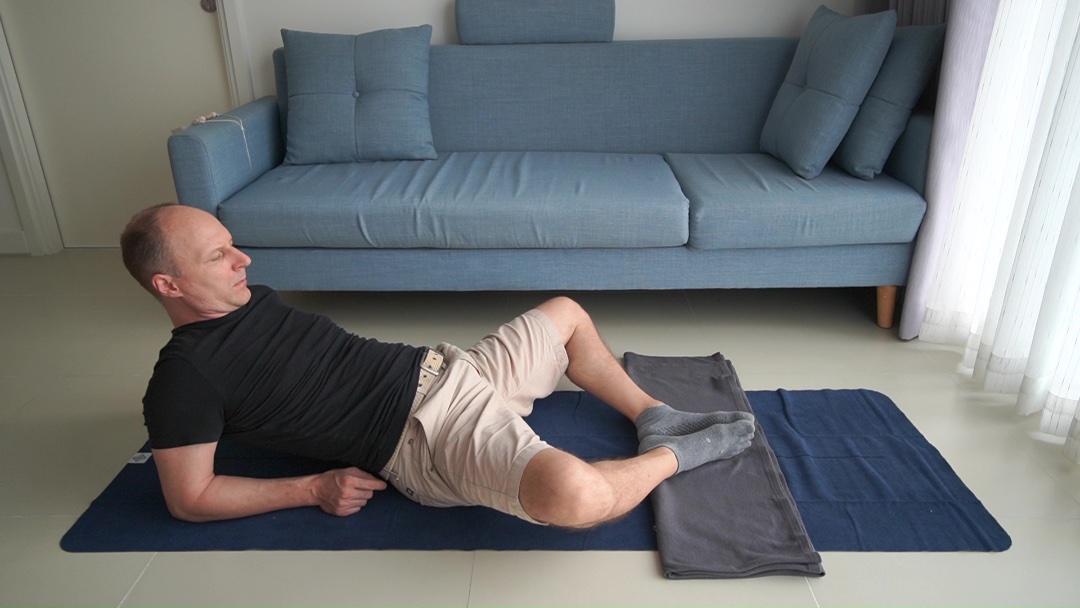
Sit and lean back on your elbows like before
Roll pelvis forwards
How does this movement transfer up throughout your torso? Do you lift or lower your head?
- Lift your head away from your chest while you roll your pelvis forwards. This is an extension movement.
Then lower your head on purpose while you roll your pelvis forwards. This is a pull.
Roll pelvis forwards
How does this movement transfer up throughout your torso? Do you lift or lower your head?
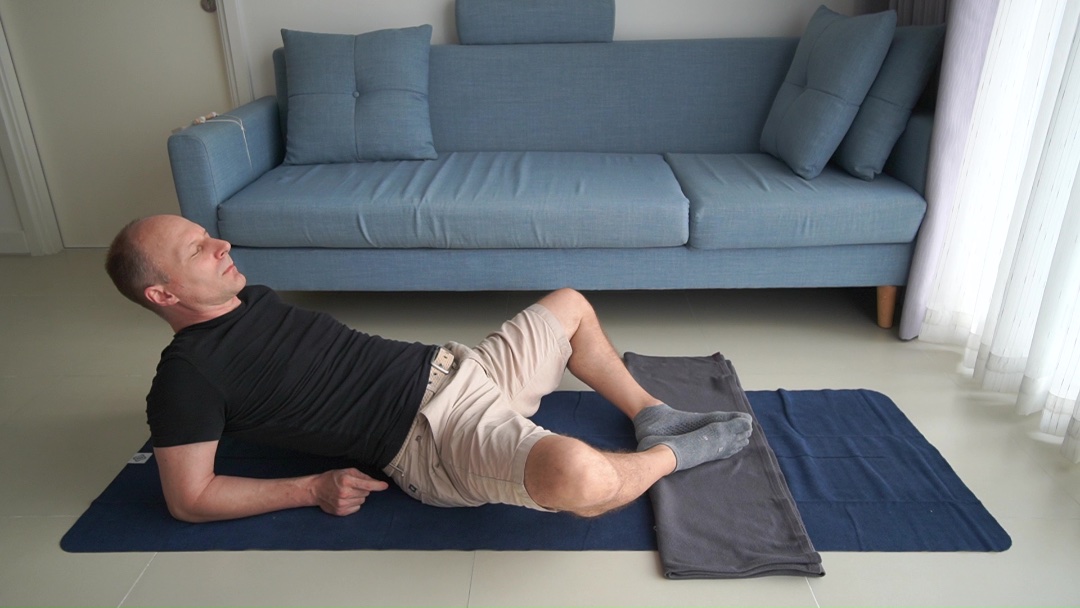
Sit and lean back on your elbows like before
Roll pelvis backwards and forwards
Combine the previous two movements. Sync up the movements of your head with those of your pelvis.
- Move your head in the same directions as your pelvis, both backwards or both forwards.
Also sync up the timing and the extend of the movement.
Roll pelvis backwards and forwards
Combine the previous two movements. Sync up the movements of your head with those of your pelvis.
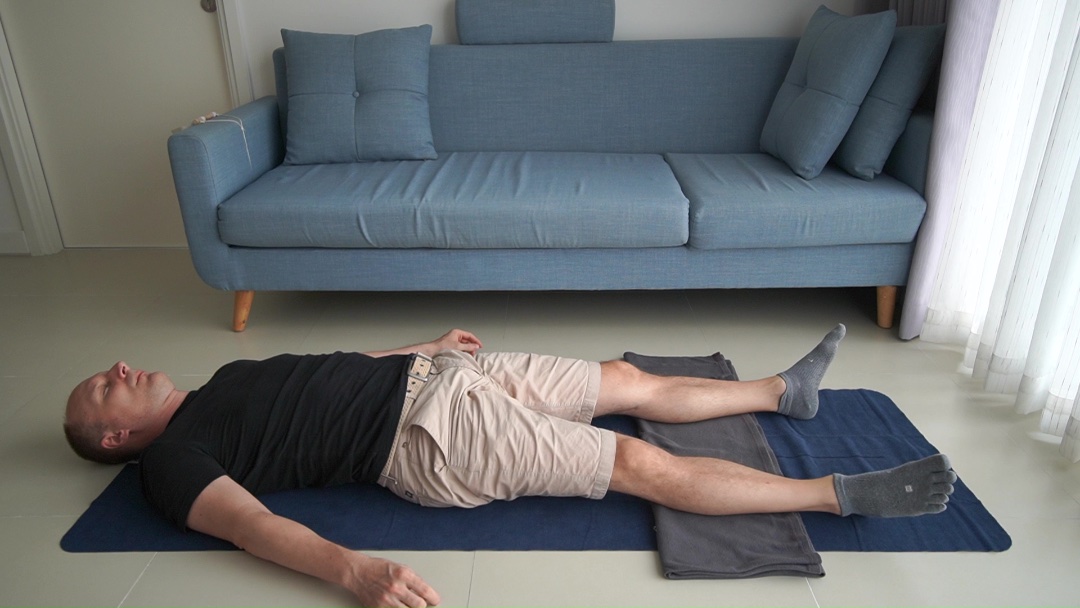
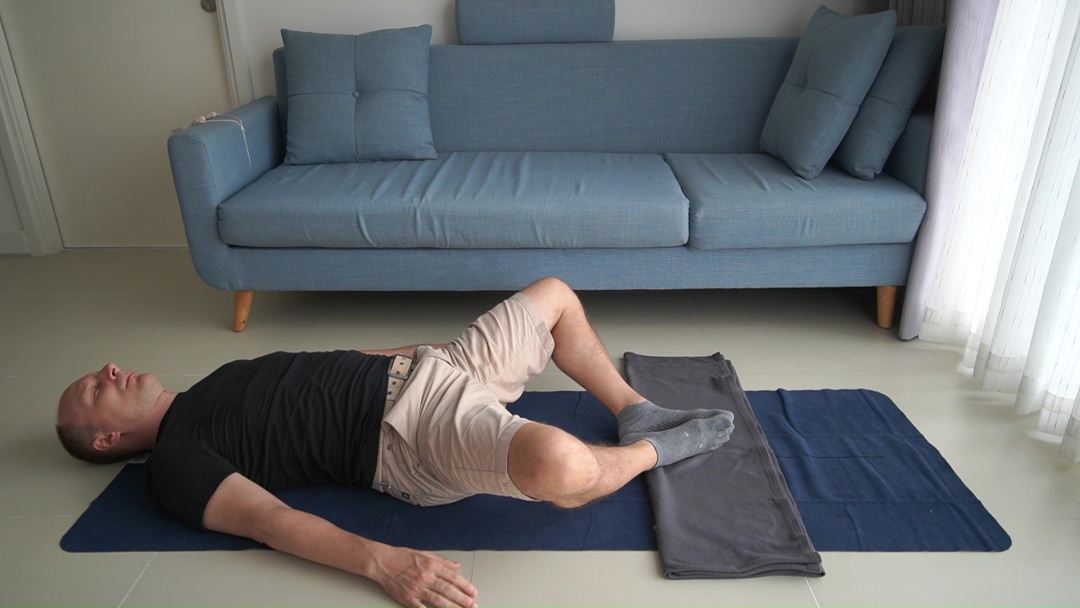
Lie on your back, knees bent to the outsides like before, touch the soles of your feet together
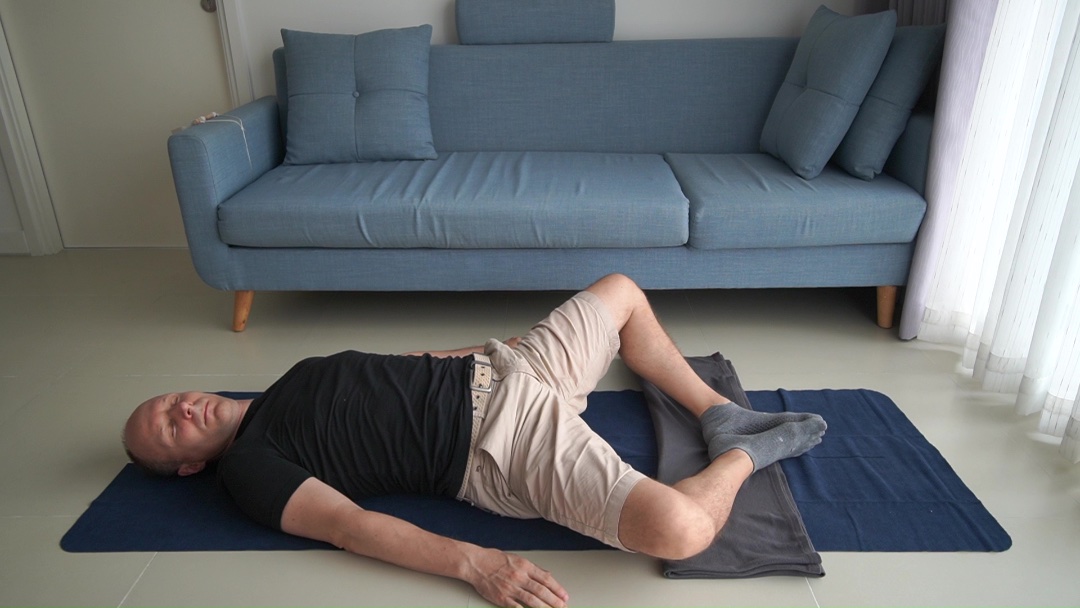
Roll pelvis and head to the right
Push down against the floor with your left hand or elbow to help roll your pelvis to the right.
- See what you have to do to make this a clear roll to the right, not a twist of the spine.
Roll pelvis and head to the right
Push down against the floor with your left hand or elbow to help roll your pelvis to the right.
Lie on your back, like before.
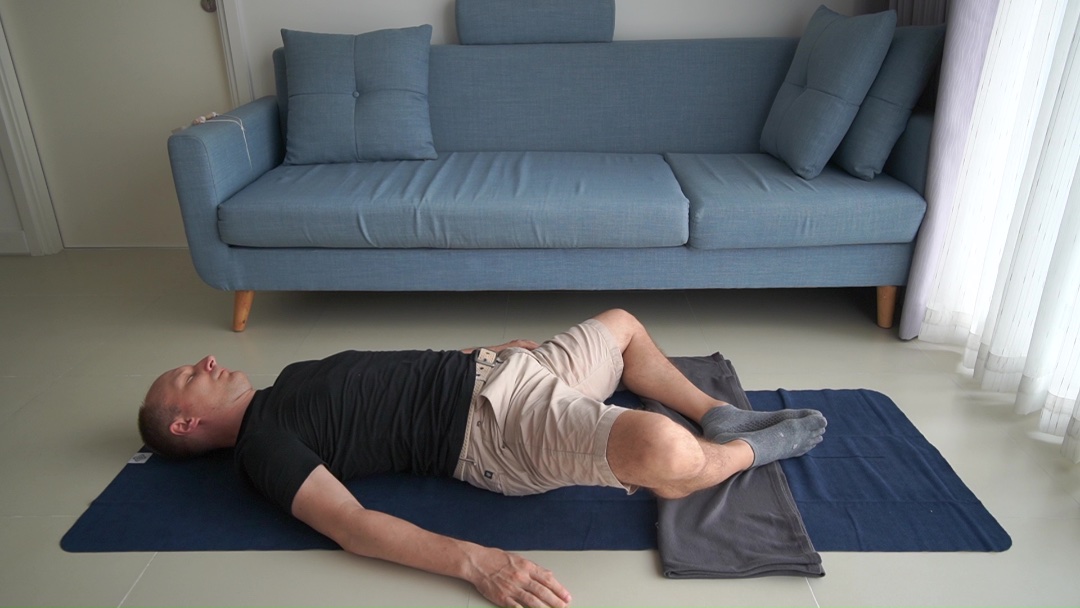
Roll pelvis and head to the left
Push down against the floor with your right hand or elbow to help roll your pelvis to the left.
- See what you have to do to make this a clear roll to the left, not a twist of the spine.
Roll pelvis and head to the left
Push down against the floor with your right hand or elbow to help roll your pelvis to the left.
Lie on your back like before
Roll right and left
Combine the previous two movements. Notice that it's clearly better to one side compared to the other.
- What accounts for this subtle or apparent difference?
Which movements do or do not occur that account for this difference?
Which parts of yourself are held stiffly together, or move much more than others?
Roll right and left
Combine the previous two movements. Notice that it's clearly better to one side compared to the other.
Sit and lean back on your elbows like before
Roll pelvis to the right
Help by pushing with your left elbow against the floor. Turn your head to the right too.
- See how much you need to lift or lower your head in order to turn it to the right.
Also see how your entire torso and spine needs to respond and turn.
Roll pelvis to the right
Help by pushing with your left elbow against the floor. Turn your head to the right too.
Sit and lean back on your elbows like before
Roll pelvis to the left
Help by pushing with your right elbow against the floor. Turn your head to the left too.
- See that it is an orientation to the left, rather than a twist of the spine.
Roll pelvis to the left
Help by pushing with your right elbow against the floor. Turn your head to the left too.
Sit and lean back on your elbows like before
Roll pelvis right and left, twist
Turn your head in the opposite directions of where your pelvis rolls to.
- Observe how you create this twist in your spine.
Roll pelvis right and left, twist
Turn your head in the opposite directions of where your pelvis rolls to.

Sit and lean back on your elbows like before
Roll pelvis right and left
Turn your head together with your pelvis in the same directions.
- When you roll your pelvis to the right also turn your head to the right.
Move slower and faster. When you move slower observe where you skip and jump or hold your breath, then and make the movement more evenly.
Roll pelvis right and left
Turn your head together with your pelvis in the same directions.
Sit an lean on your hands like before
Roll pelvis right and left
Explore the previous movements in this position.
- Start with rolling the pelvis to the right, then left, then combine both directions.
Observe how you can turn your head in the same or opposite directions.
Observe the movements of your whole spine and torso, and how everything connects… or doesn't.
Roll pelvis right and left
Explore the previous movements in this position.
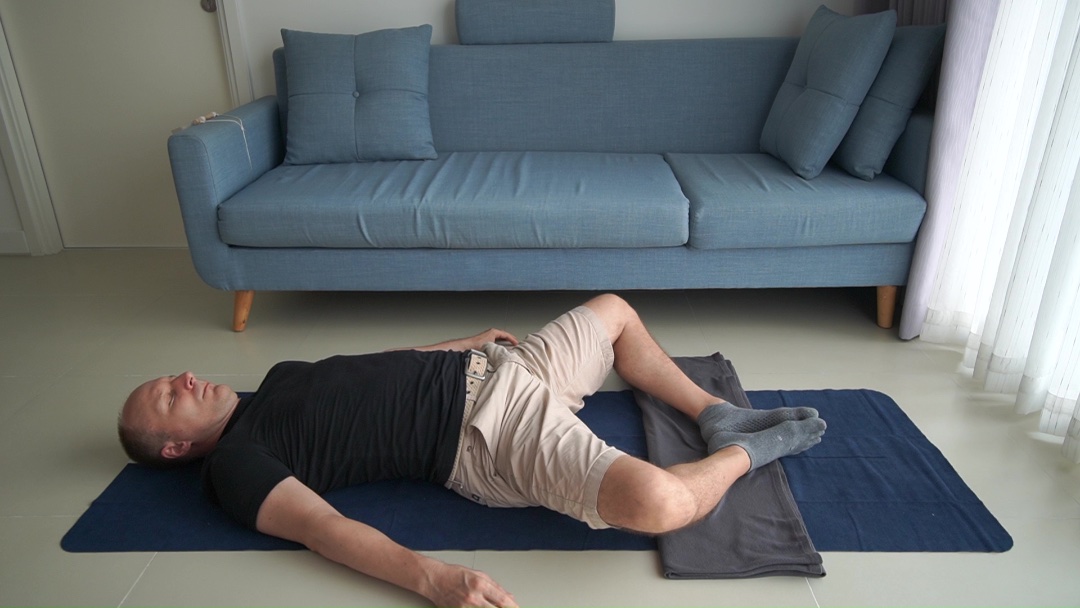
Lie on your back, like before.
Circles with pelvis and head, in supine
Combine the four directions into circles. Let your pelvis and head roll into the same directions.
- Gradually build starting with quarter circles.
Vary in rolling direction, circle size, and movement speed.
The full circle can be divided into 12 sections, hence the name pelvic clock.
Circles with pelvis and head, in supine
Combine the four directions into circles. Let your pelvis and head roll into the same directions.
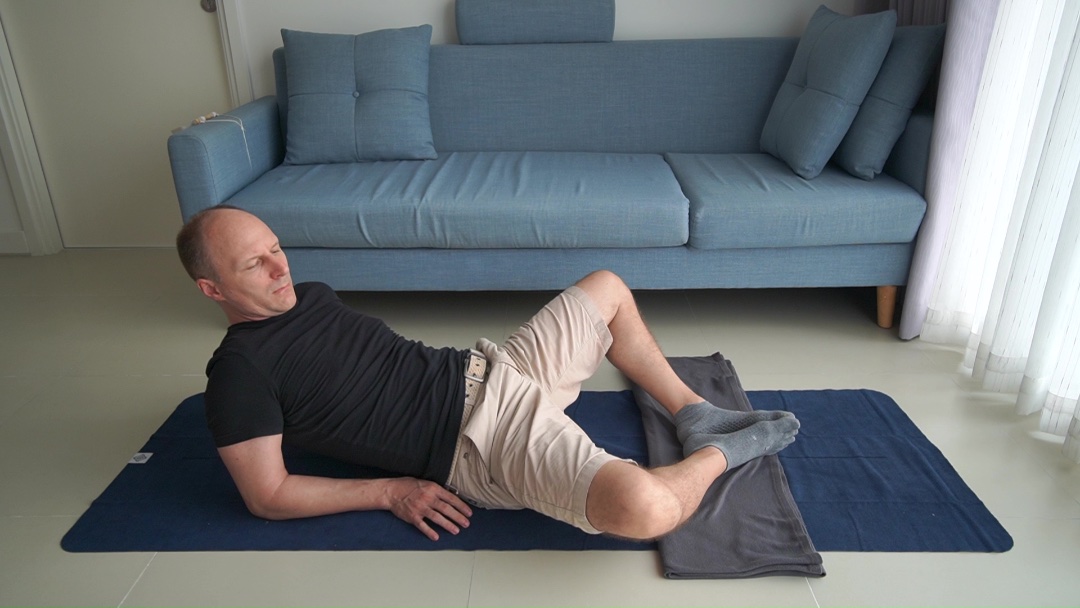
Sit and lean back on your elbows like before
Circles with pelvis and head, in half-sitting
Gradually explore the various sections of the circles, and vary in rolling direction, circle size, and movement speed.
- As throughout the lesson observe where you skip and jump or hold your breath (which are "mistakes") and move slowly enough to be able to improve.
Circles with pelvis and head, in half-sitting
Gradually explore the various sections of the circles, and vary in rolling direction, circle size, and movement speed.
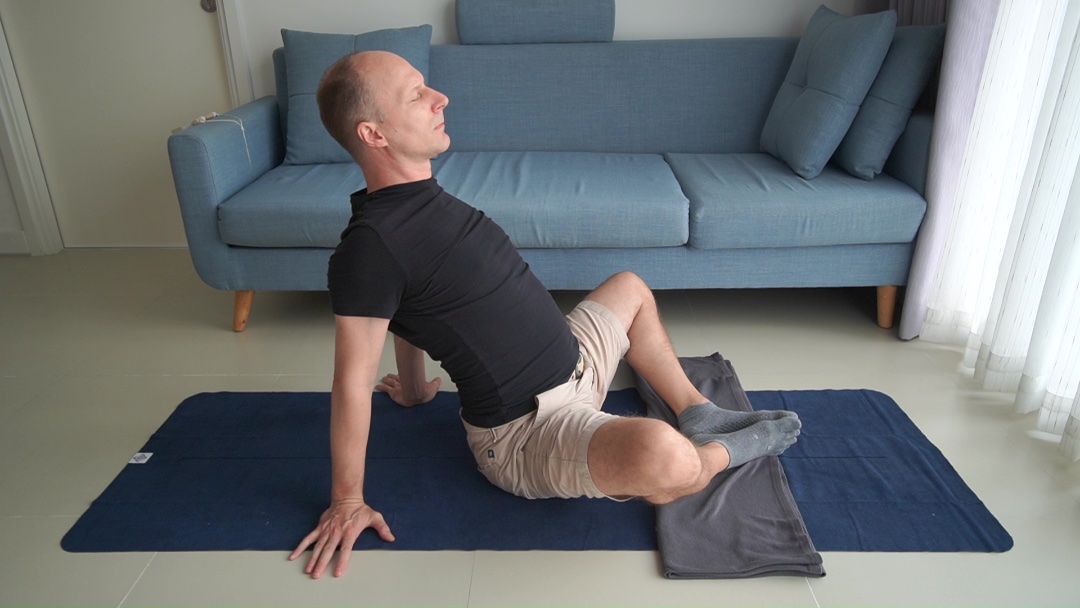
Sit an lean on your hands like before
Circles with pelvis and head, in sitting
Take your time to explore these movements, take breaks in between.
- The movements involve the whole spine, even the otherwise hard to address floating ribs get involved. This in turn will free the chest from old, habitual holding patterns and improve the breathing.
Circles with pelvis and head, in sitting
Take your time to explore these movements, take breaks in between.

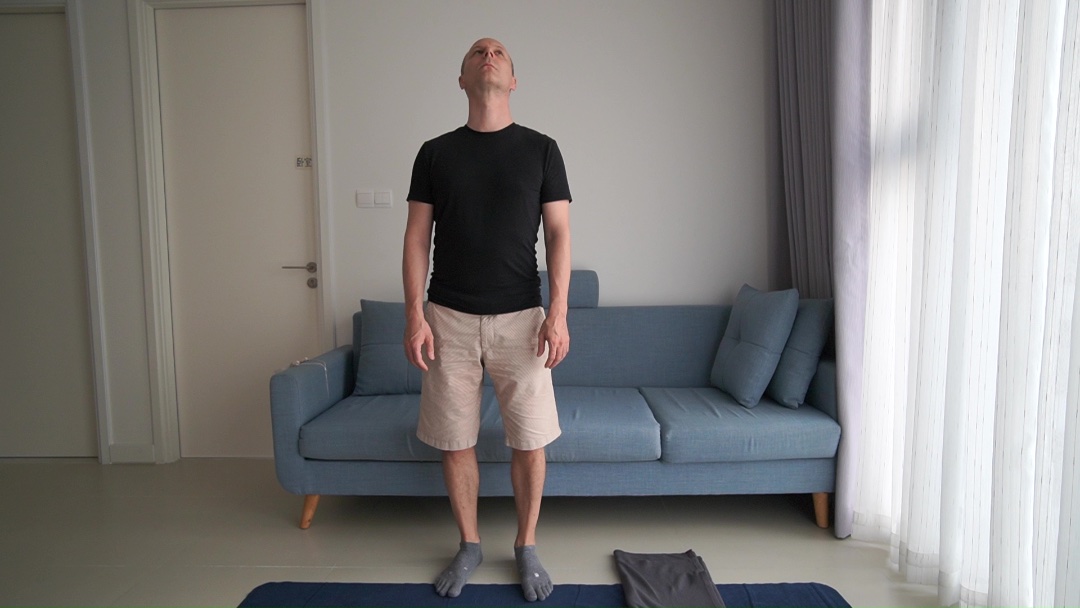
In standing
How do you feel in standing?
See how it is to look up, to look around. How do the movements of the pelvis relate to those of the head, and vice versa?
How do you feel in standing?
See how it is to look up, to look around. How do the movements of the pelvis relate to those of the head, and vice versa?
