Head and hip joints backwards
In side-lying the head is taken backwards, then the pelvis, which results in an extension movement. This is explored with different leg positions.
We will look in detail at how an extension movement comes to life. We will experiment with different places in ourselves to begin the movement (from the head or from the pelvis). We will harmonize the movement to include the whole spine, all ribs, as well as arms and legs. We will explore the influence of various leg positions and constraints on coupled spinal motion.
extensionside-lying extension_sidelying_1
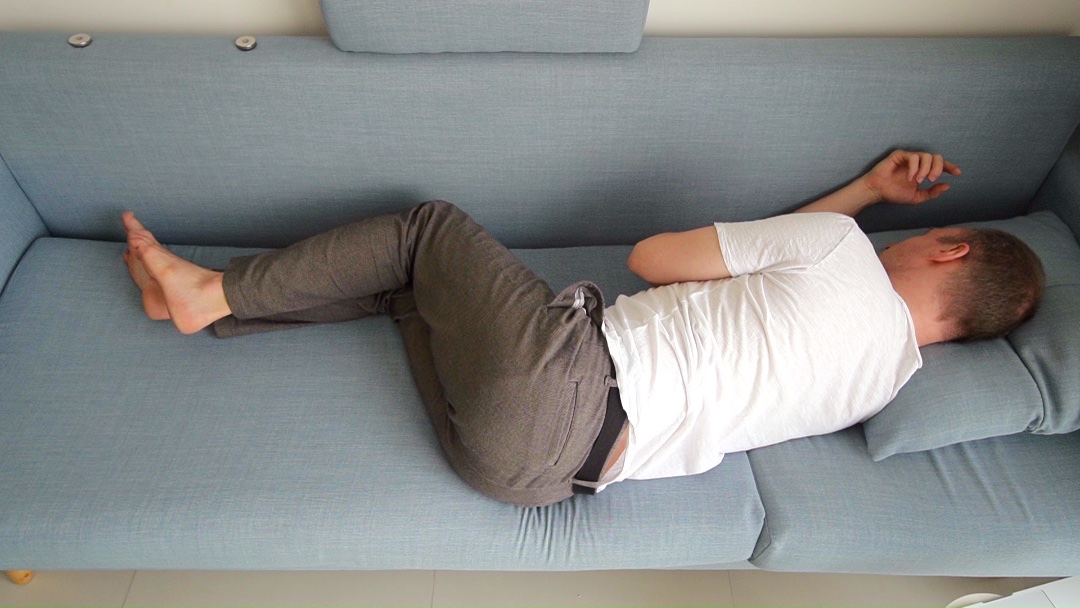
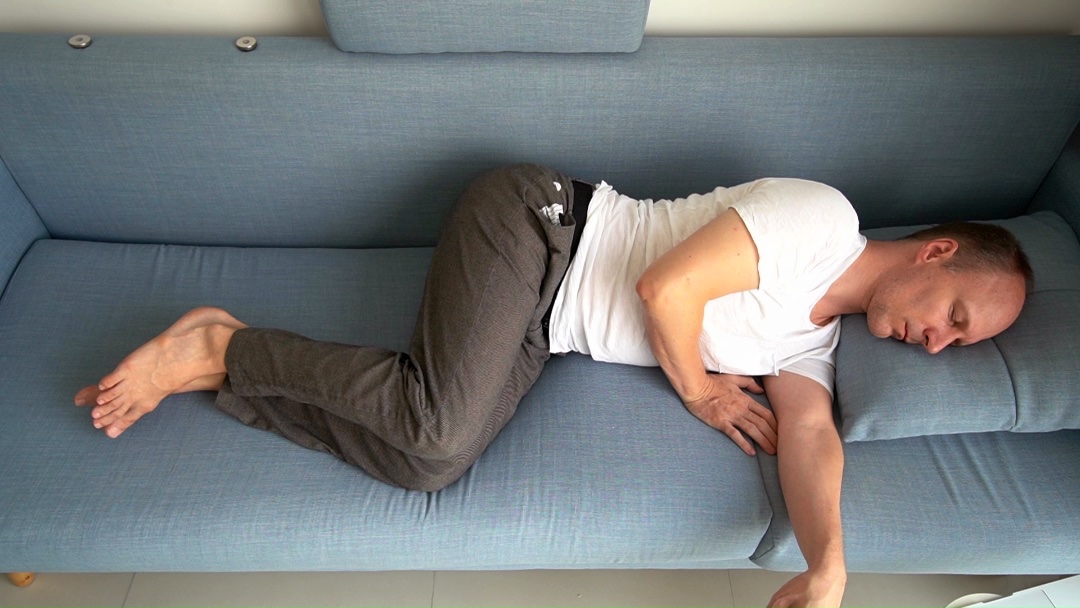
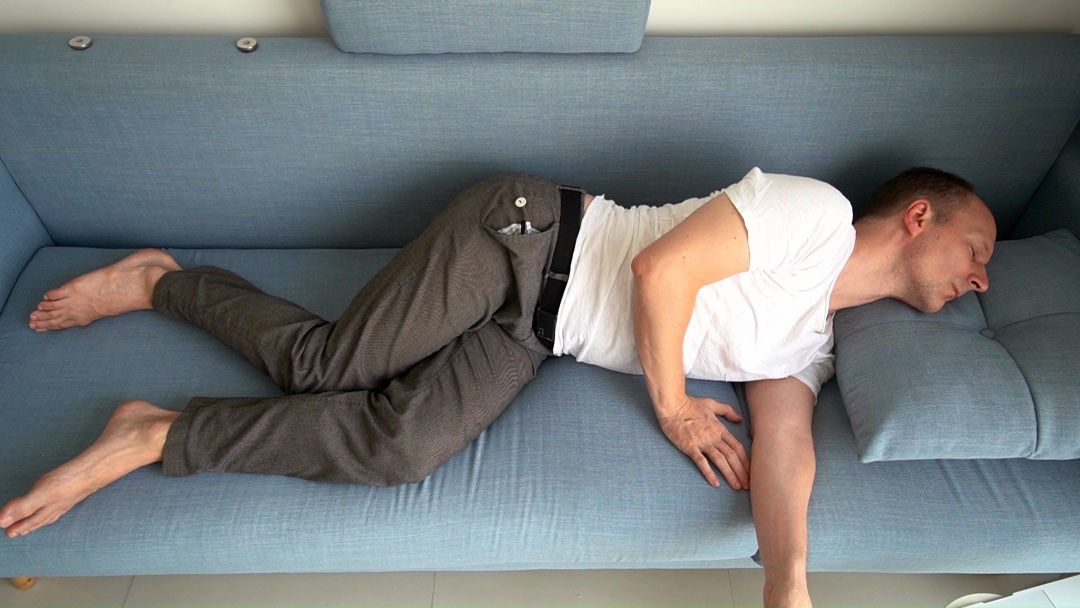
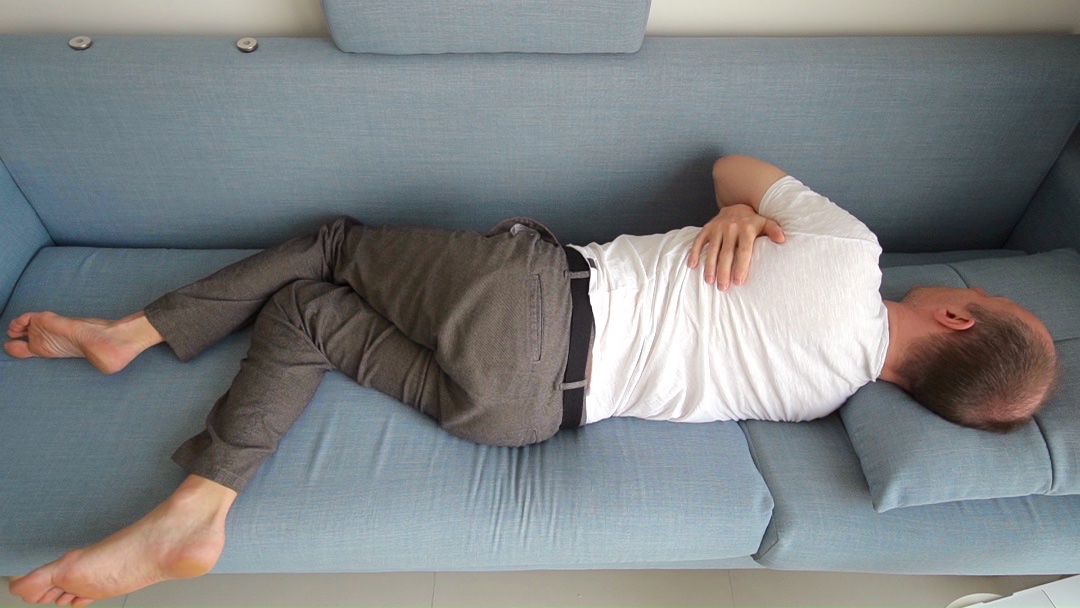
Lie on your right side, stand your left hand in front of your chest, bend your knees a bit.
Take head backwards
Slowly, many times. Think of the back of your head moving backwards.
- Do not turn your head. Do not take your shoulders backwards.
Your chin lifts away from your throat.
You might lift your head a little bit off the floor to make it slide easier.
Take head backwards
Slowly, many times. Think of the back of your head moving backwards.
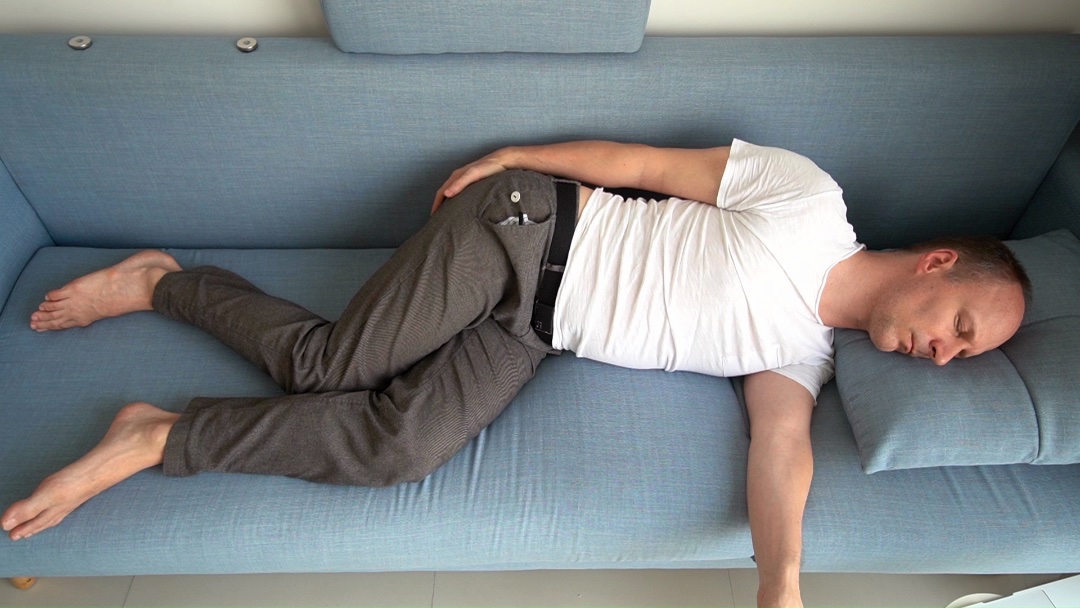
Lie on your right side as before, but also bend your left foot in the ankle a bit, and your knee a bit more.
Take left hip joint backwards
Your left knee might move a bit forwards and backwards.
- It's an "anterior pelvic tilt"-like motion, not a rolling of the pelvis.
You might lift your left leg a little bit off the other leg to make it slide easier.
Bend your left ankle and knee a bit more while you take your left hip joint backwards.
Take left hip joint backwards
Your left knee might move a bit forwards and backwards.
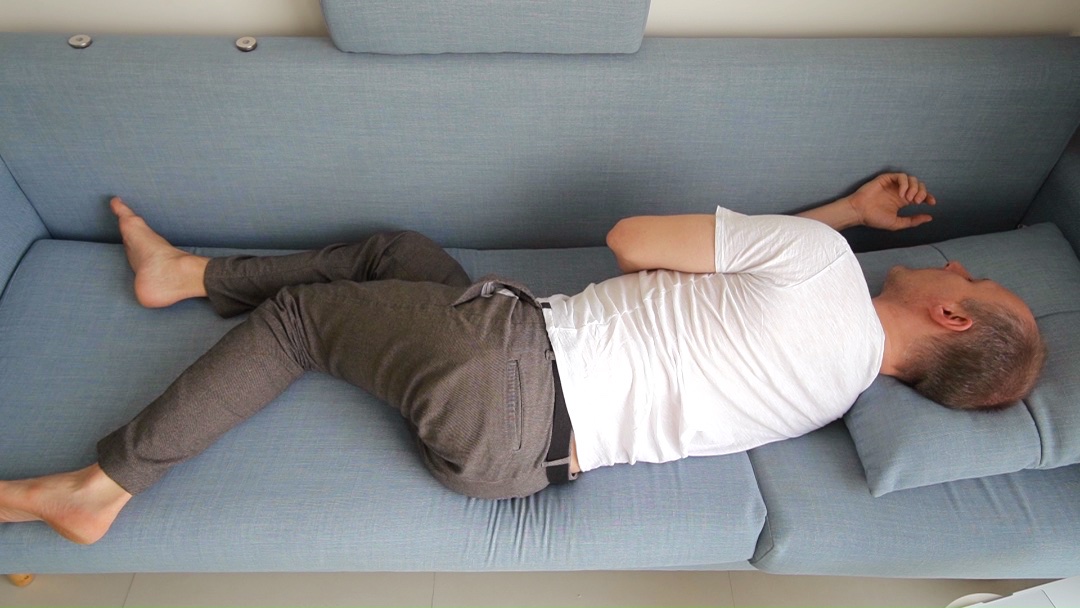
Lie on your right side as before.
Take your pelvic floor backwards
Think of the area between your sit-bones moving backwards.
- Pay attention to how this is different from taking only your left hip joint backwards.
Take your pelvic floor backwards
Think of the area between your sit-bones moving backwards.
Lie on your right side, with your right hand on your right knee or right hip.
Reference movement
Take left hip joint backwards
Help with your left hand to feel the movements. What has changed to before?
- Lightly push your right knee backwards with the help of your right hand.
Accompany the movements of your hip and lower back with your left hand.
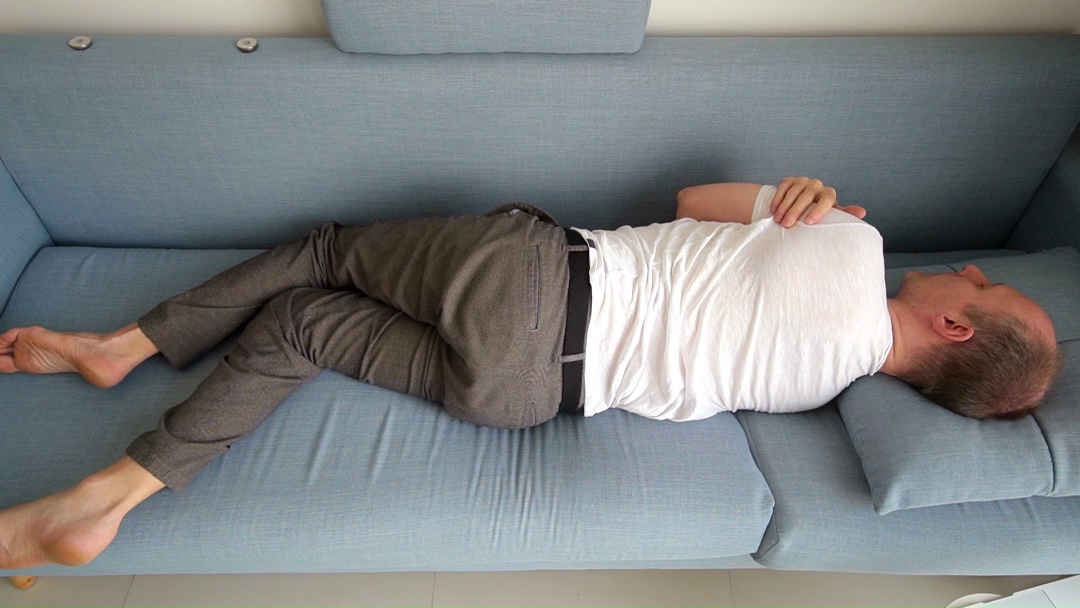
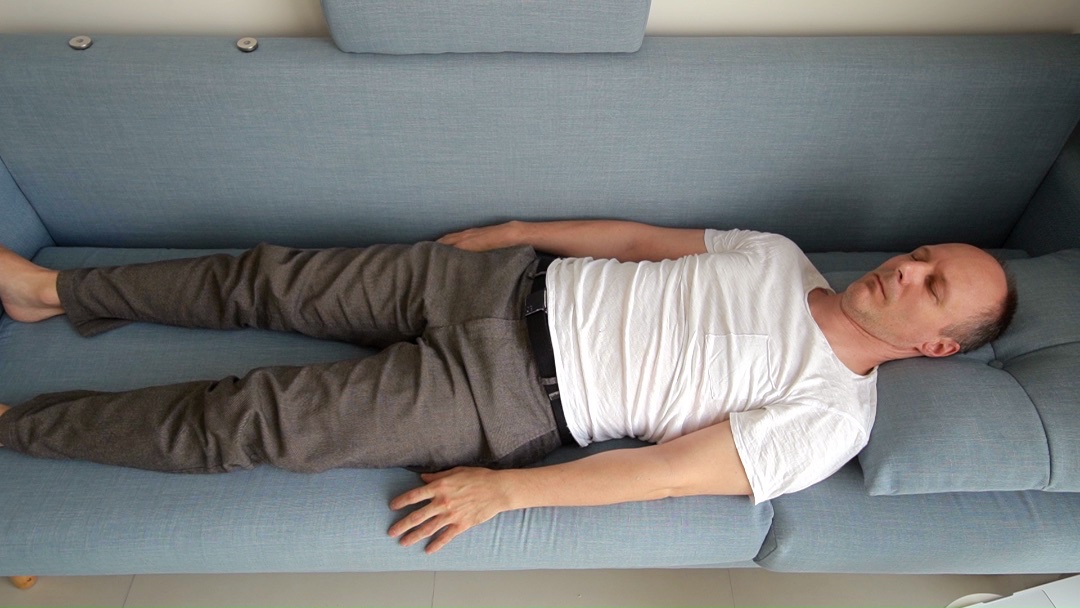
Then take a rest in lying on your back for a moment.
Reference movement
Take left hip joint backwards
Help with your left hand to feel the movements. What has changed to before?
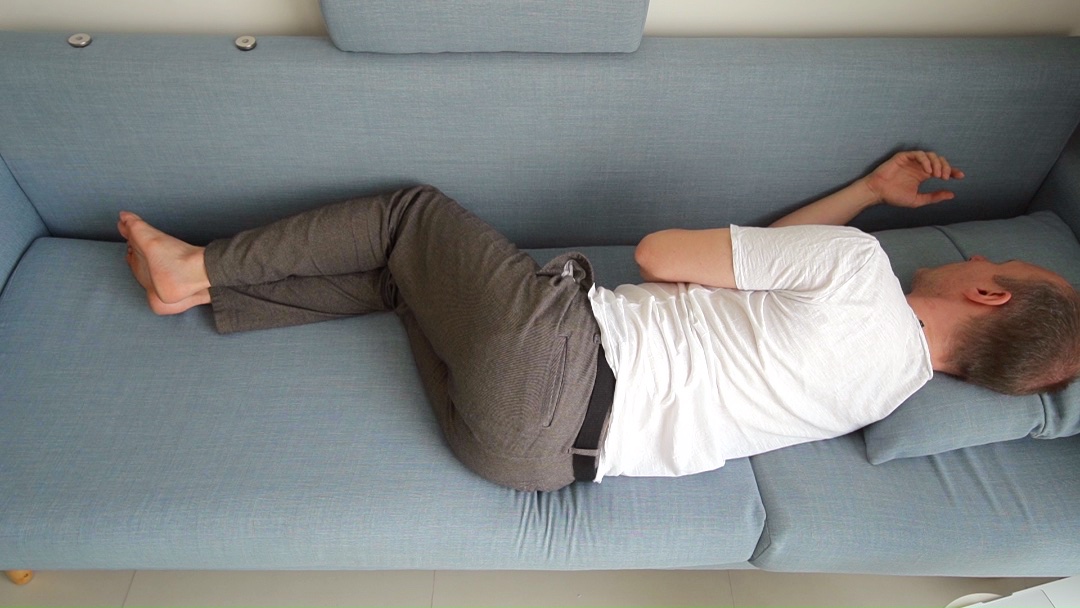
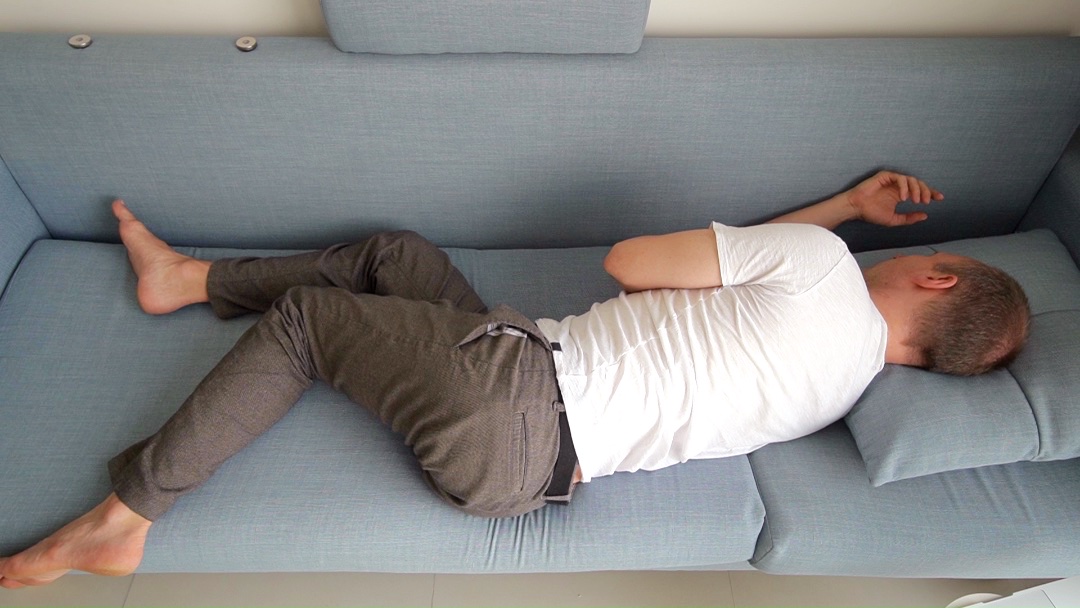
Lie on your left side, stand your right hand in front of your chest, bend your knees a bit.
Take head backwards
Slowly, many times. Think of the back of your head moving backwards.
- Do not turn your head. Do not take your shoulders backwards.
The hand stands on the floor, so that the shoulders are fixed and will not move with the head a lot.
Take head backwards
Slowly, many times. Think of the back of your head moving backwards.
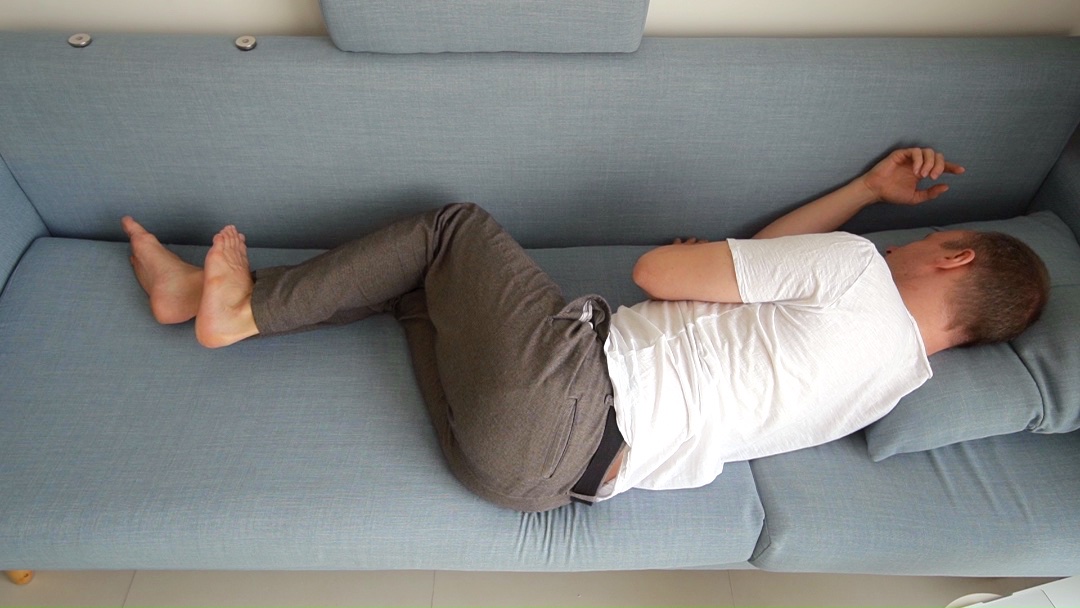
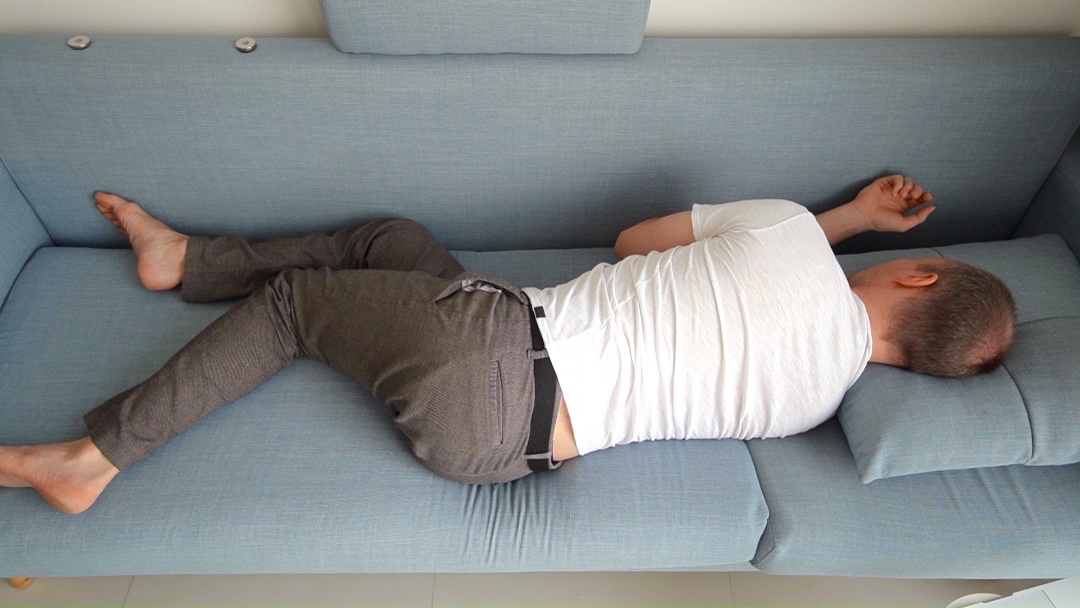
Lie on your left side like before.
Continuation
Take head backwards, observe different locations
Your throat in relation to the chest, the back of your head, your back, your belly, your hips.
- The belly needs to go forward when the head goes backwards. The chin closer to the throat and farther away from the throat.
The crown of the head backward as if to take the head backward to touch one’s hair to the belt.
The whole body must move from the sole of the foot to the top of the head if the head is to go really backward. You must feel it moving even in the left hip on the floor.
Continuation
Take head backwards, observe different locations
Your throat in relation to the chest, the back of your head, your back, your belly, your hips.
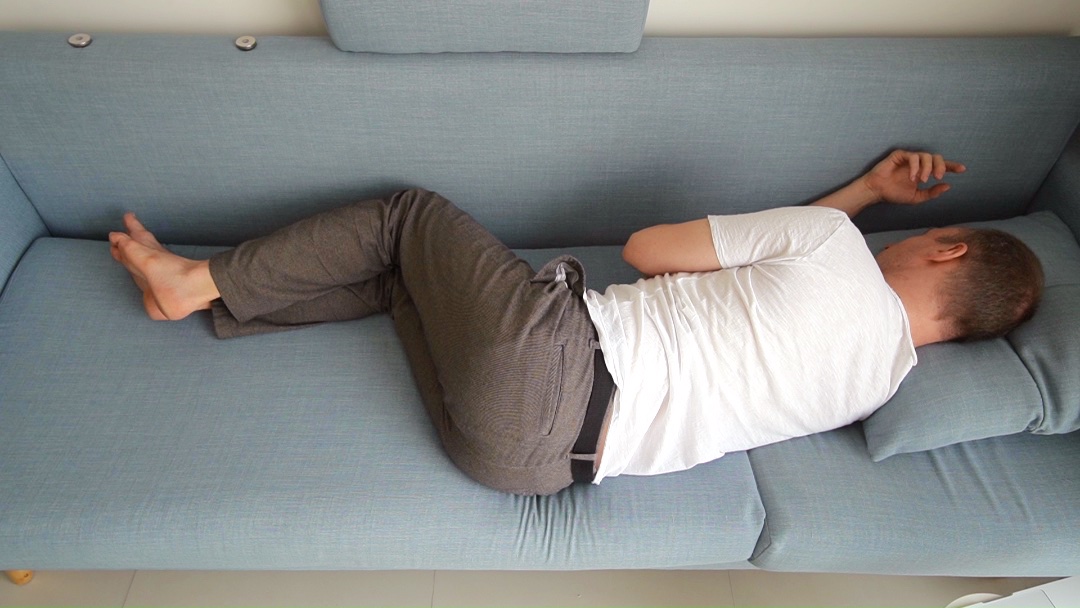
Lie on your left side like before.
Take right hip joint backwards
Bend your right foot and move the right hip joint backwards such that the knee will go backwards.
- Use your right hand to slightly push against your right knee, and retreat your right knee backwards.
Do not roll the body backwards, it's only the right hip joint that moves backwards.
Take right hip joint backwards
Bend your right foot and move the right hip joint backwards such that the knee will go backwards.
Lie on your left side like before.
Move pelvic floor backwards
There must be an arch in the back, the entire spine should participate.
- Feel how the movement of the pelvis travels up to your head, involves your entire chest.
Do soft movements, do not do sudden pushes.
Move pelvic floor backwards
There must be an arch in the back, the entire spine should participate.
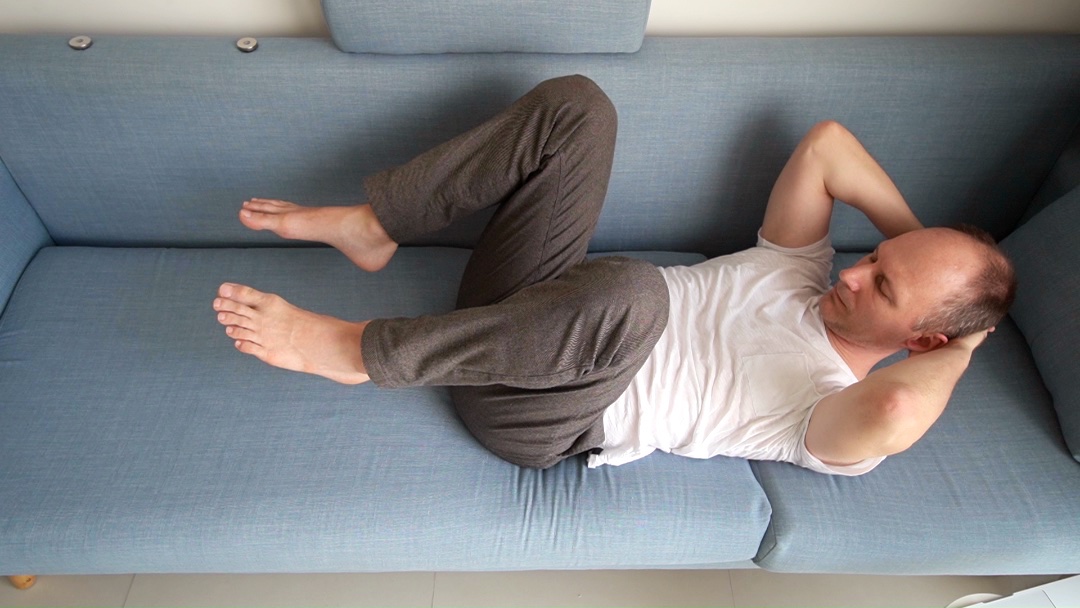
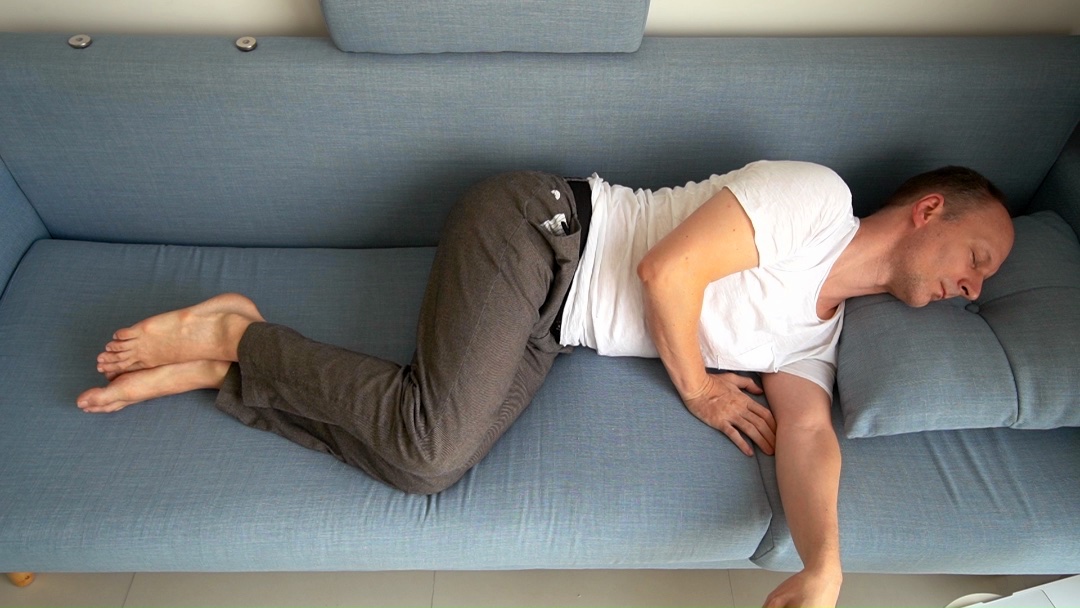
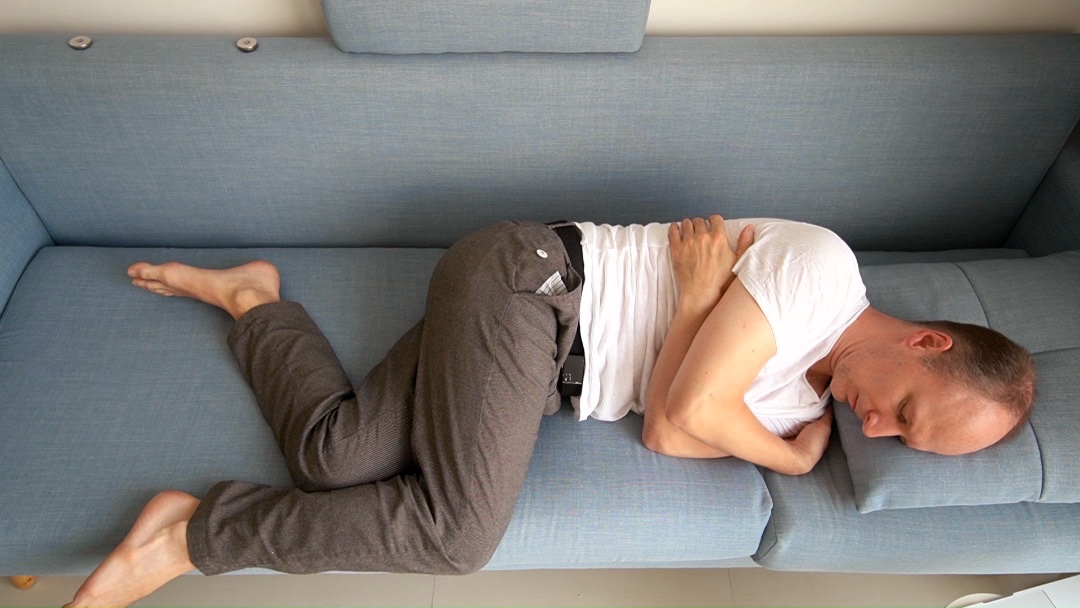
Lie on your right side with your legs bent. Place your left hand on the floor in front of your chest. Place the left leg, the left knee, on the floor behind the right knee.
Take the head backward many times
Make the movement of the head freely and allow the entire body to go with this movement.
- Pay attention to how the entire back from the sit bones to the crown of the head goes backward, and the middle goes forward.
Do many easy movements, easily, lightly. Do not push upward. Do not push up or down, just backward very easily.
Make it so the body will move like jelly, so the vertebrae really will be used to do something soft and flexible and not something stiff.
Take the head backward many times
Make the movement of the head freely and allow the entire body to go with this movement.
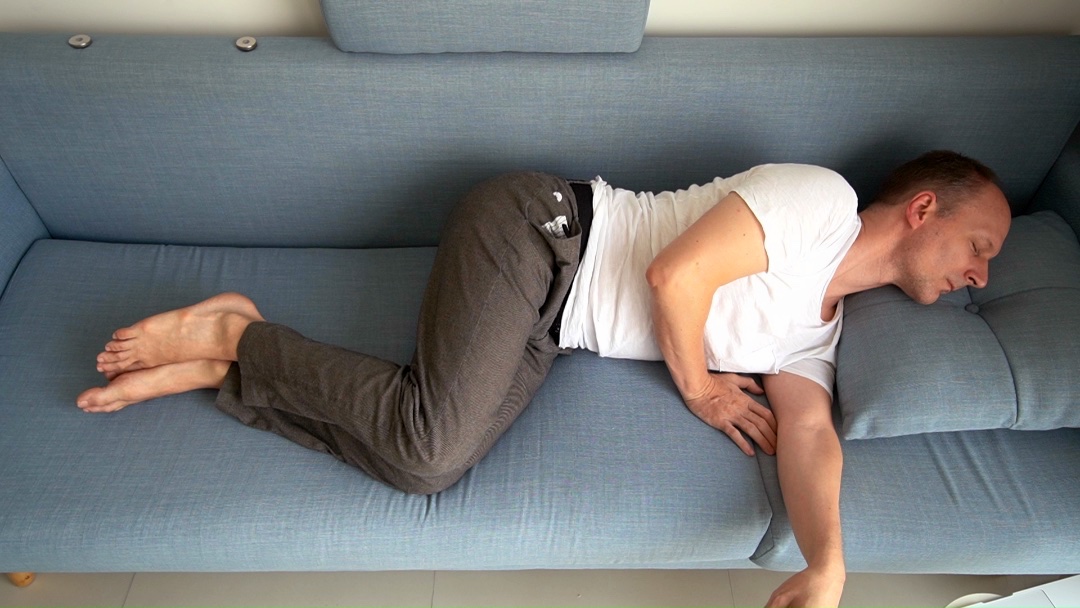
Lie on your right side, the left knee on the floor behind the right knee, left hand on the floor in front of your chest.
Move pelvic floor backwards
Start the movement from your pelvis, the lower back curves forwards, the chest responds flexibly.
Move pelvic floor backwards
Start the movement from your pelvis, the lower back curves forwards, the chest responds flexibly.
Lie on your right side, the left knee on the floor behind the right knee, left hand on the floor in front of your chest.
Take left hip joint backwards
Pull the knee backward through the thigh. The foot stays in place.
- You might lift the left knee a bit from the floor so it will not rub on the floor.
Allow your head to move and respond to the movements of your pelvis. Do this movement such that you are able to distinguish that the spine will push the head.
Take left hip joint backwards
Pull the knee backward through the thigh. The foot stays in place.
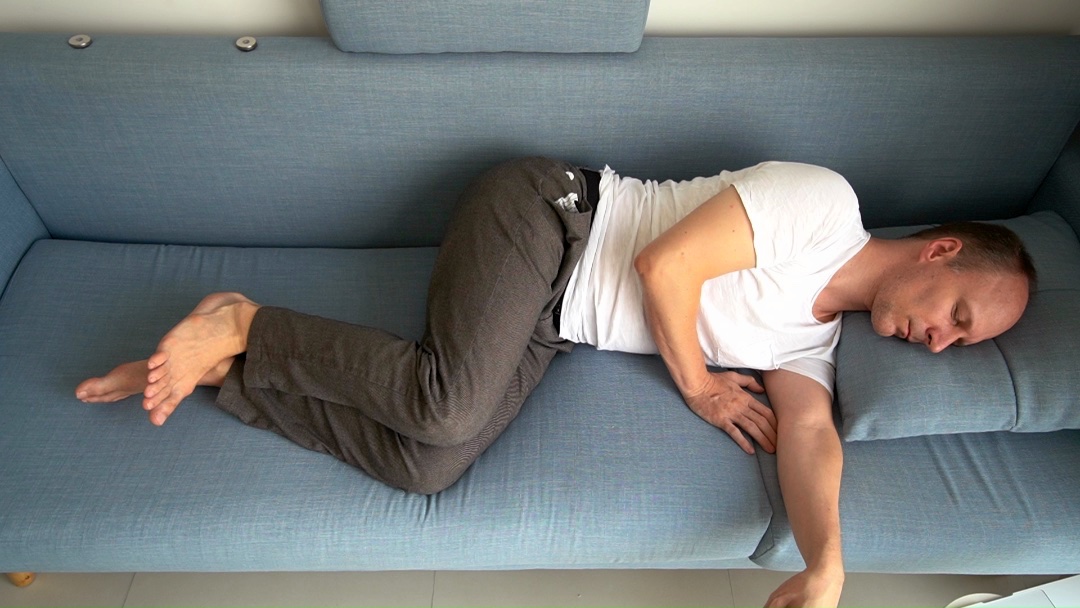
Lie on your right side like before.
Take head and pelvic floor backwards
Remain with the left knee behind the right on the floor.
- Where is an additional pulling that was not there before?
The left knee is resting on the floor. If it is not resting, it will not change anything. Pay attention to how the left hip moves away from the head. When you take it backward, it pulls the head down and the hip goes down as if it is going to the floor . . . to the floor in the direction of the heel, of the heel that is resting. That means the hip goes up and down in relation to the head.
Do not use all the possibility. That means there is a feeling that if you wanted to do more, you could.
Take head and pelvic floor backwards
Remain with the left knee behind the right on the floor.
Lie on the left side, right knee on the floor behind left knee, right hand standing on the floor in front of the chest.
Pull left hip joint backwards
Help with your hands to feel the movement. Lift your left knee a bit to slide it easier.
Pull left hip joint backwards
Help with your hands to feel the movement. Lift your left knee a bit to slide it easier.
Lie on the left side like before.
Take head and pelvic floor backwards
Observe the trajectory of your head and hip joint.
- There is not one limb that does not participate from the feet to the shoulders to the head. Do this movement and make it easier, simpler. Do it such that the person will sense that if he wanted to, he could do more.
Take head and pelvic floor backwards
Observe the trajectory of your head and hip joint.
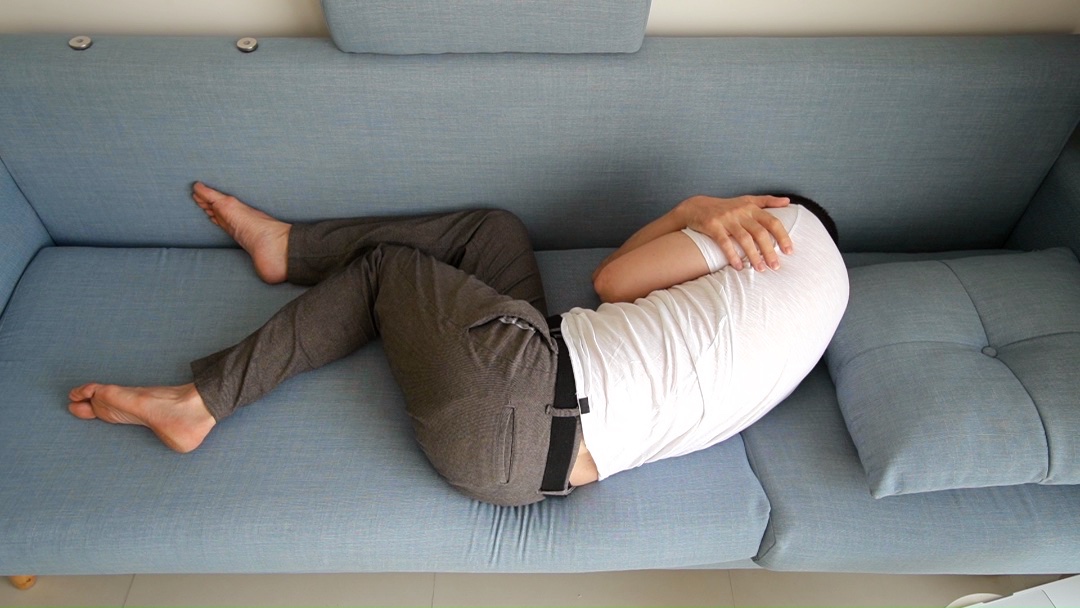
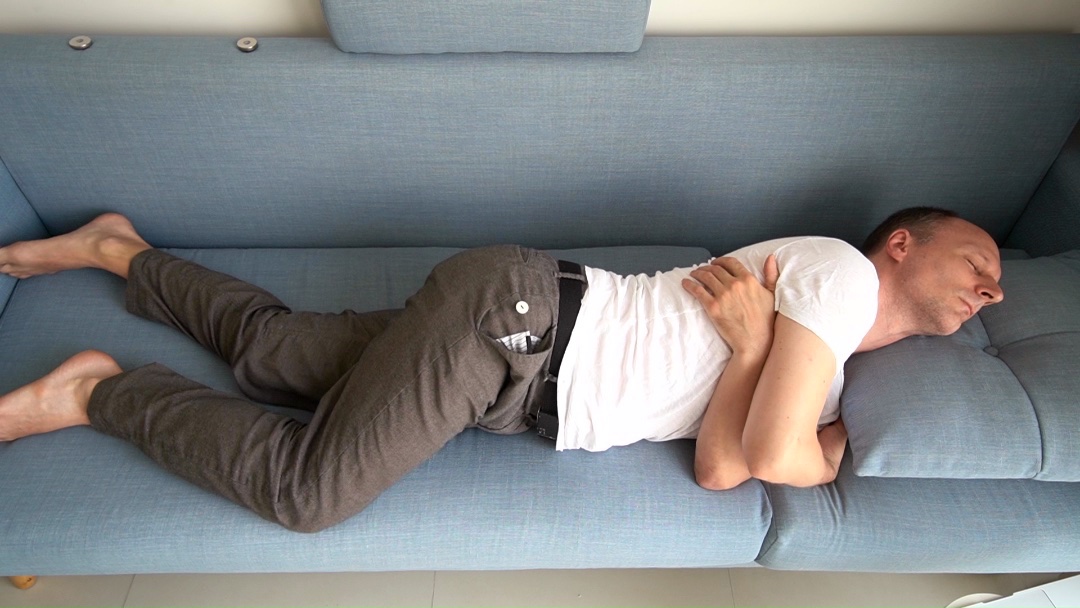
Lie on your right side, the left knee on the floor behind the right knee, hug yourself: place the right hand under the left armpit, and the left hand under the other armpit.
Take head and pelvis backwards
Round yourself when you go forwards, arch and open when you go backwards.
Take head and pelvis backwards
Round yourself when you go forwards, arch and open when you go backwards.
Lie on your right side like before, but with the left knee in front of the right knee.
Continuation
Take head and pelvis backwards
Change over your legs. Let yourself become small and tall when bending and extending yourself.
- Let your whole self participate, everything moves.
Continuation
Take head and pelvis backwards
Change over your legs. Let yourself become small and tall when bending and extending yourself.

Lie on your left side, the right knee on the floor behind the left knee, hug yourself.
Continuation
Take head and pelvis backwards
Change over your legs. Increase the freedom of the movement and its comfort.
- Pay attention to the difference that the changing of the legs makes. In what place in the back do you feel this? What additional movement does the pelvis do, differently from before?
Continuation
Take head and pelvis backwards
Change over your legs. Increase the freedom of the movement and its comfort.
Lie on your left side, the right knee on the floor behind the left knee, hug yourself.
Continuation
Take head and pelvis backwards
Change over your arms. Make it a bit faster, but don't push your limits.
Continuation
Take head and pelvis backwards
Change over your arms. Make it a bit faster, but don't push your limits.