
Arm circles on both sides
You start in side-lying, with your head resting on the upwards extended lower arm. Then the arm is rotated, and the head responds accordingly. Little by little the arm slides forwards and backwards, then the movements become bigger until a full circle is formed. Then the second arm is added, and they move in opposite directions, like the rotor blades of a helicopter.
This lesson could be considered a shoulder lesson, since it improves the movements and flexibility of the shoulders and arms. In this sense it could also be considered an upper chest lesson, since it also improves the movements and flexibility of the upper chest. It could also be considered a full body movement integration lesson, because it requires you to become aware of all parts of your body (arms, head, chest, ribs, pelvis, legs, feet, …) and how they work together to support each other.
side-bendingshouldersarm-circlesside-lying arm_circles_underneath_1
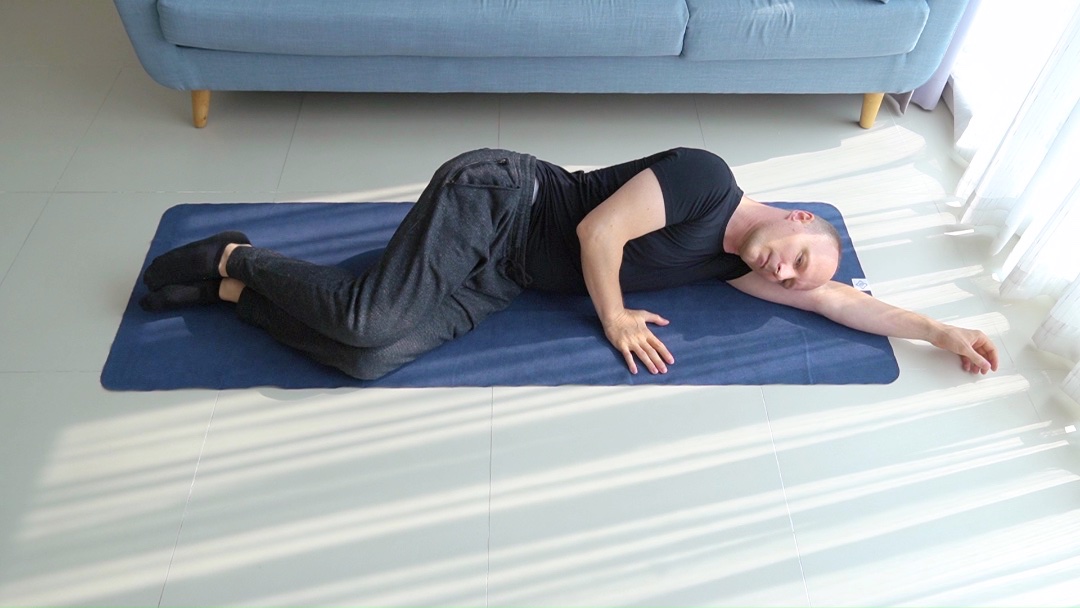
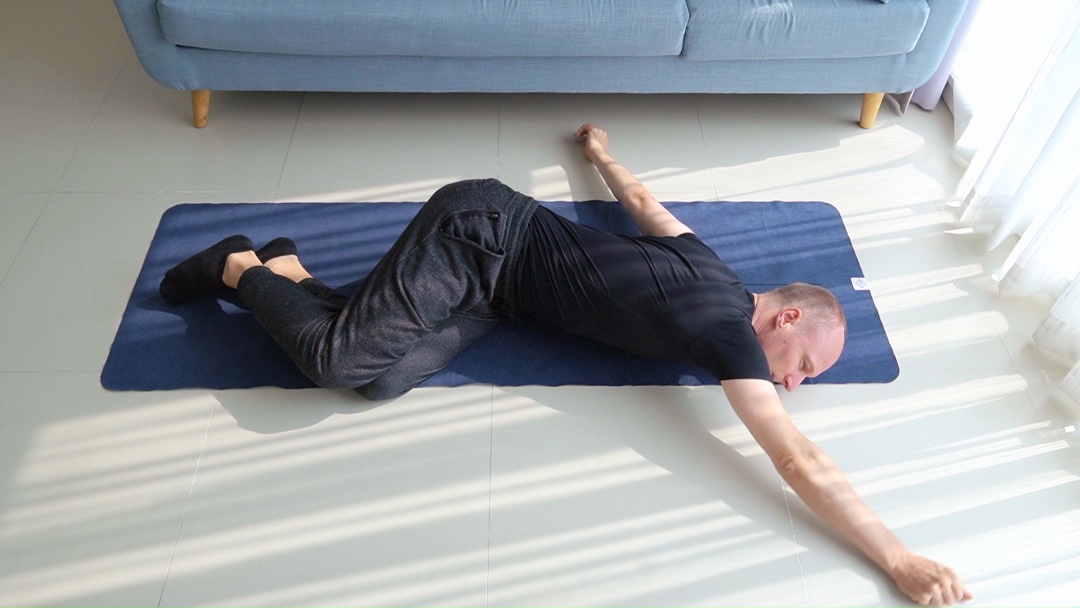
In side-lying on the left side, extend your left arm upwards and rest your head on your left upper arm. Stand your right hand in front of your chest, knees on top of each other and slightly bent
Rest in the start position
How much work is it to balance your head on your arm?
- Where is tension, work, or effort in your body?
Rest in the start position
How much work is it to balance your head on your arm?
In side-lying like before
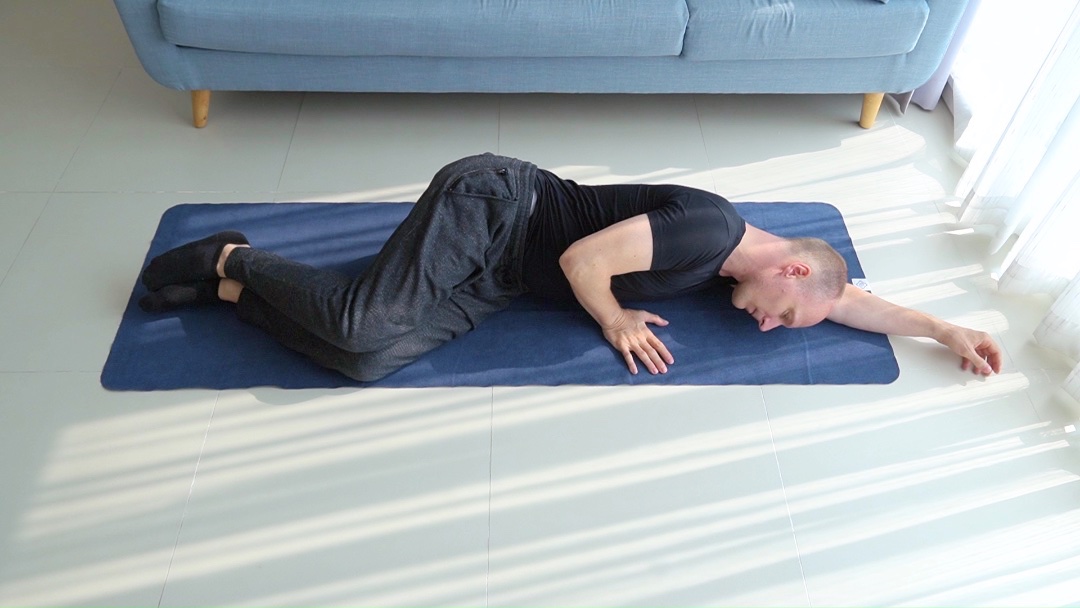
Roll left arm together with head
Observe the orientation of your hand
- When your face is facing the floor in front of your left arm, your left palm is towards the floor.
When the back of your head is resting on the floor behind your left arm, palm is towards the ceiling.
Roll left arm together with head
Observe the orientation of your hand
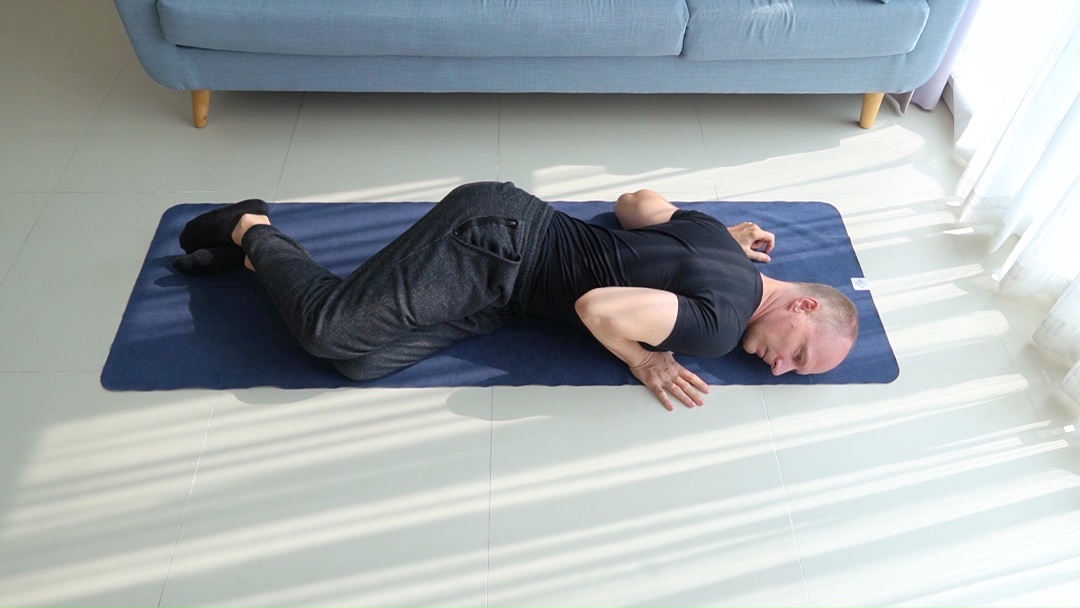
In side-lying like before
Continuation
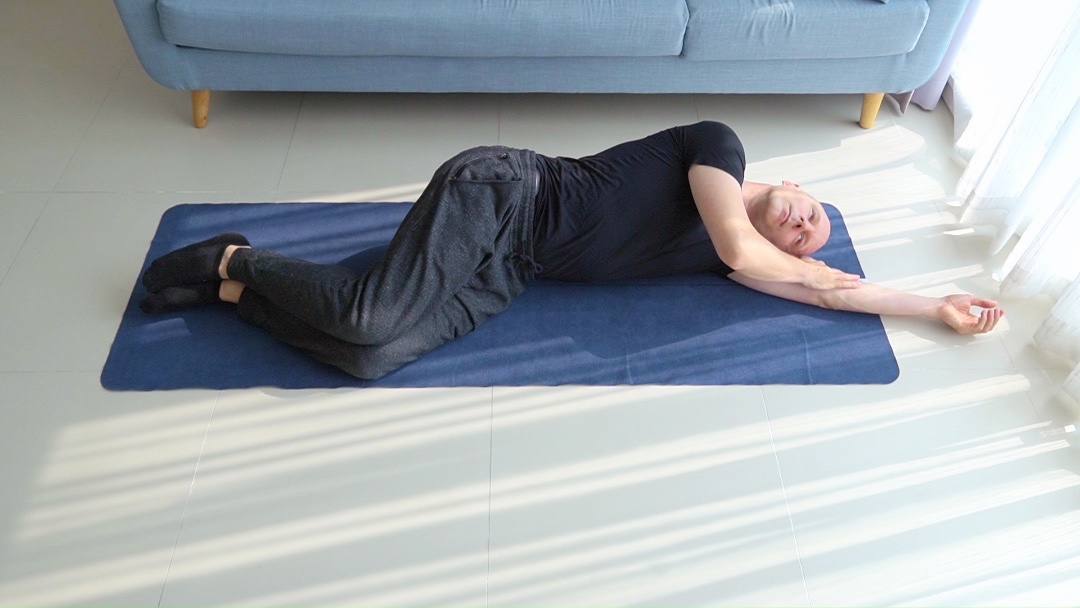
Help left arm to roll
Use your right hand to roll your left arm like a bottle that's rolling on a table.
- Observe the orientation of your left hand, when is the palm facing up, when is it facing down?
Continuation
Help left arm to roll
Use your right hand to roll your left arm like a bottle that's rolling on a table.
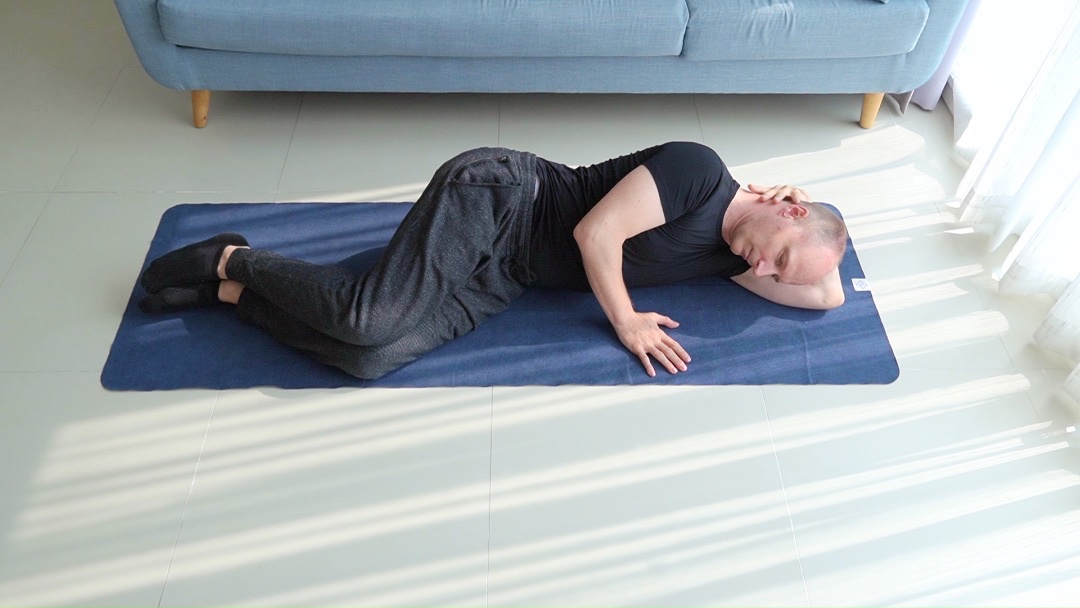
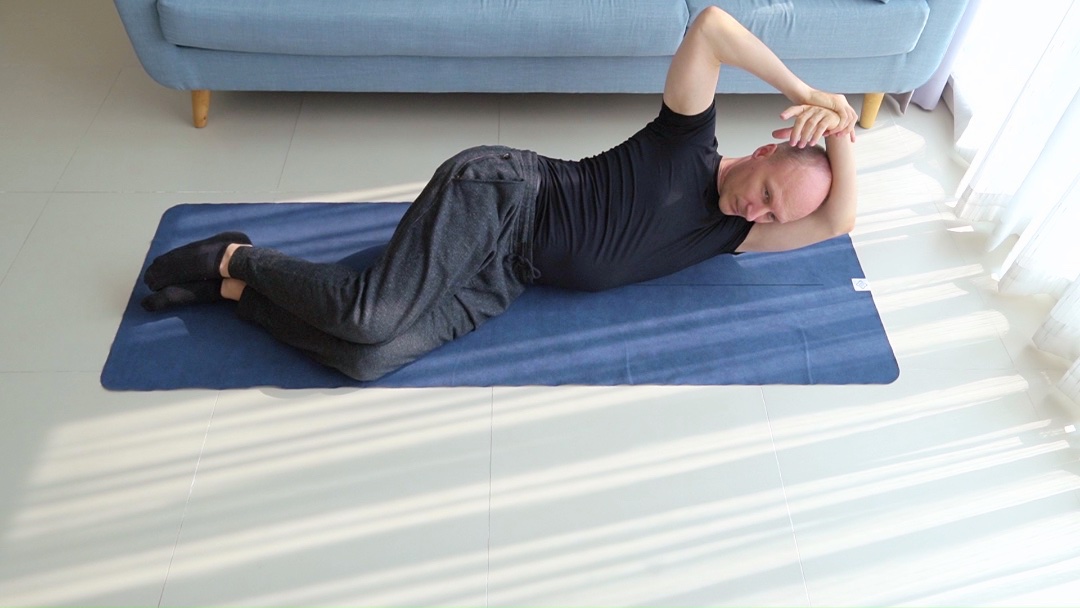
In side-lying like before, the left elbow is bent, the right hand is holding the left wrist
Pull left hand up
Use your right hand to pull on your left hand. Lengthen your left side.
- Push with the ribs on your left side against the floor.
Pull left hand up
Use your right hand to pull on your left hand. Lengthen your left side.
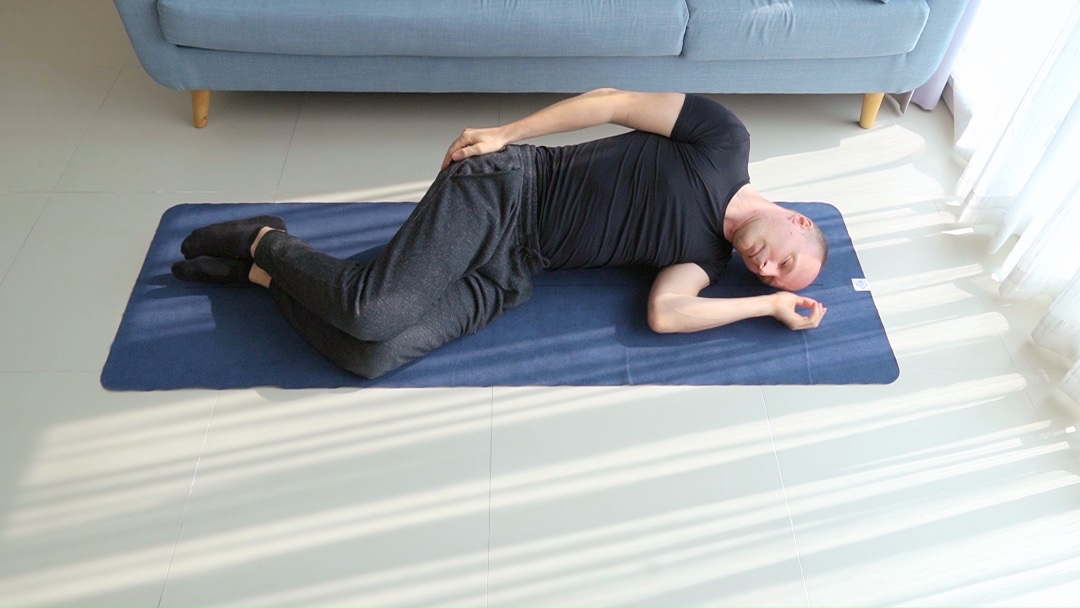
In side-lying on the left side like before
Side bending
When your left hand passes underneath your left side, extend your right leg.
- See if the lengthening of your right side helps with the shortening of your left side.
Where else can you move to support the movements of your arm?
Side bending
When your left hand passes underneath your left side, extend your right leg.


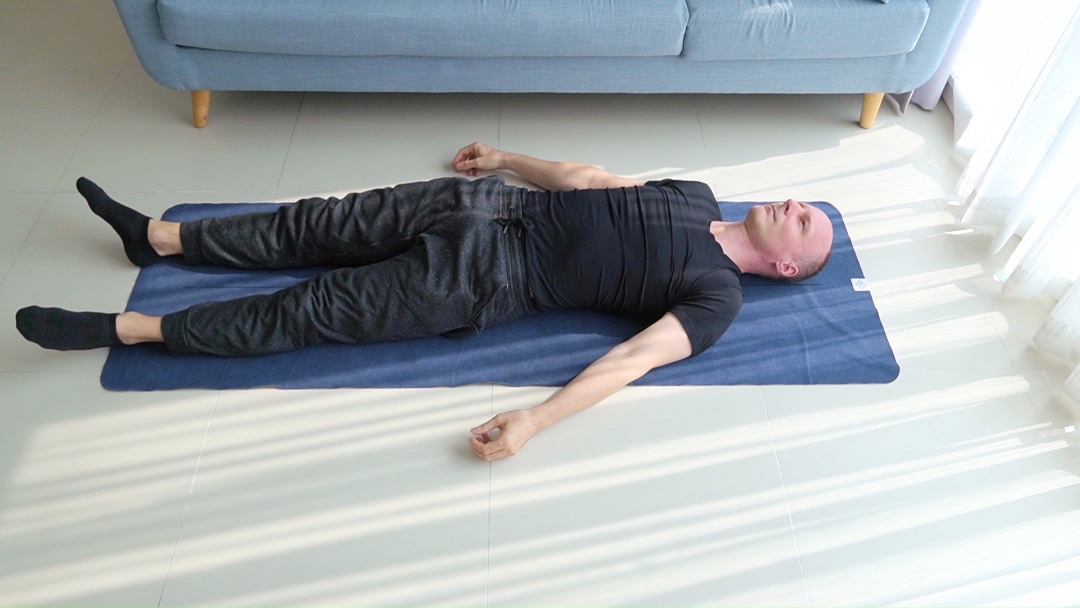
On the back
Rest on your back
Again observe the difference between your both sides. How has it changed?
- This is a short pause before the final movement. This pause is necessary to integrate the previous movements, and to become ready for the next.
Rest on your back
Again observe the difference between your both sides. How has it changed?
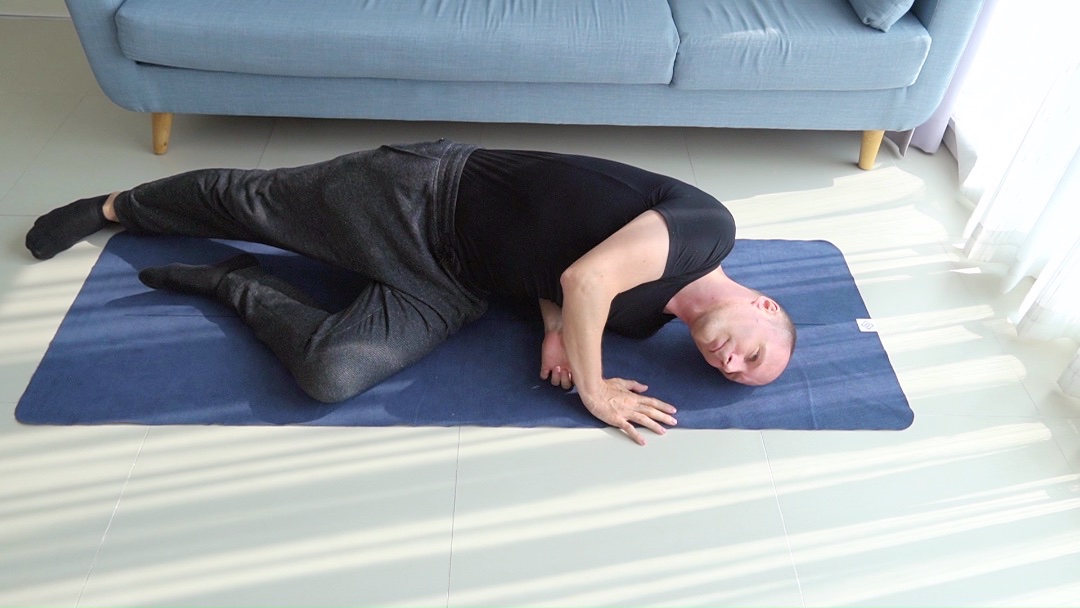
In side-lying on the left side like before
Arm circles with both arms
Make circles with your right arm to support the circles of your left arm.
- Allow yourself to roll on the floor and do whatever feels necessary to accommodate and support the circling of the arms.
The arms are always opposite of each other, like the rotor blades of a 2-bladed rotor helicopter.
Arm circles with both arms
Make circles with your right arm to support the circles of your left arm.
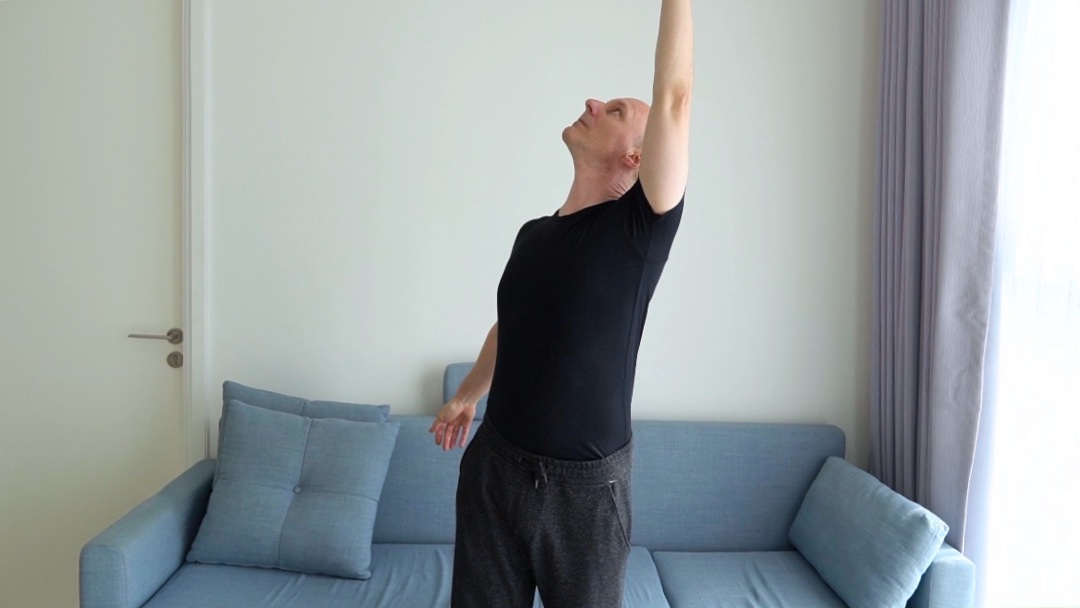
In standing
Arm circles in standing
Explore how the movements transfer to the standing position. Remember to use what you discovered in side-lying.
- At first don't hold your head fixed forward, but allow your head to move just like you did in side-lying.
When you pick up speed you can make the movements of the head smaller and smaller.
Arm circles in standing
Explore how the movements transfer to the standing position. Remember to use what you discovered in side-lying.